How to Align a Cabinet Door
Close the cabinet door and compare its gaps with the neighboring door and the cabinet edge. Check that the hinges are securely mounted.
Quick answer: Close the cabinet door and compare its gaps with the neighboring door and the cabinet edge. Check that the hinges are securely mounted. For an adjustable concealed hinge, use its model-specific side, height or depth adjustment a little at a time, checking the closed door between turns. Do not guess which screw does what; surface hinges may have no adjustment cams.
A door that looks crooked may be low, shifted sideways, too far forward, or simply pulling away because its hinge screws have become loose. Each symptom requires a different adjustment. Many modern concealed hinges adjust in three dimensions; older butt and face-mount hinges can use different hardware. Adjustment range is limited and does not correct sagging cabinets.
Check applicability and set up safely
You will need:
- Matching manual or model marking for the hinge
- Hand screwdriver matching the screw type
- Small level or a ruler and masking tape for reference
- Second person for oversized, heavy or glass doors
Step-by-step procedure
Step 1: Record the symptom with the door closed
Look for an uneven vertical gap between two doors, one top edge higher than the other, or a door face that stands proud of its neighbor. Photograph the starting gaps. Check whether the cabinet itself is level; a twisted cabinet box cannot always be corrected with hinge cams.
Step 2: Check security before adjustment
Open the door, support it, and gently check the hinge cups and cabinet plates for wobble. Tighten only loose mounting fasteners in solid material. A moving hinge must be repaired before alignment is attempted.
Step 3: Find the exact adjustment controls
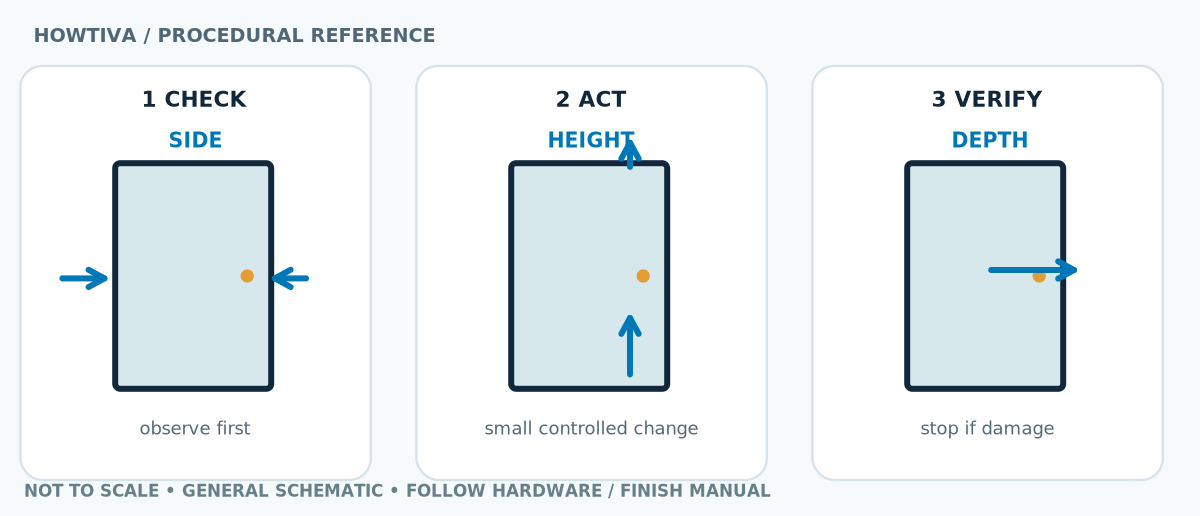
Use the hinge number or cabinetry assembly document. On certain Blum concealed hinges the front cam changes side overlay, the rear cam changes depth, and height changes via mounting screws. The precise locations and motion depend on series. Do not assume the diagram labels correspond to every brand.
Step 4: Make the smallest appropriate change
For left-right alignment, turn the correct side adjustment a small amount and re-close the door. For height, support the door while loosening only the specified mounting screws just enough to slide vertically, then retighten. For depth, move the door closer to or farther from the frame only as directed. Work slowly; keep all hinges engaged.
Step 5: Balance the top and bottom hinges
When a tall door tilts, one hinge may need a different small side change from the other. Re-check closed gaps after each change and make sure both hinges remain secure. Stop at resistance instead of turning beyond the design’s range.
Step 6: Verify clearance and latching
Open the door fully, close it slowly and check that the edge does not strike adjoining doors or shelves. Confirm bumpers and soft-close function still work. If gaps remain wildly inconsistent, re-check cabinet squareness or ask an installer.
Two real-world situations to compare before repeating a step
Door gap tapers from top to bottom
That often means the door is tilted rather than uniformly shifted. After confirming solid mounting, compare how the upper and lower hinge adjustment changes the tilt. Make one controlled change, close, inspect and repeat.
Door aligns on the left but protrudes at the bottom
This is likely a depth or mounting problem, not simply the center gap. Stop changing the sideways screw, check the right axis and ensure the cabinet front is not twisted.
Troubleshooting: when the first check does not solve it
Turning a screw makes the gap worse. Return toward the starting point and consult the exact hinge diagram. Adjustment directions differ.
Door looks aligned while open but binds closed. Depth, overlay or frame distortion may be involved; inspect for contact points rather than forcing it shut.
Screw spins or hinge plate moves. Stop adjusting. Fix loose attachment before setting gaps.
One door cannot match its neighbor. The wrong hinge overlay, incorrectly hung door or shifted carcass may be outside adjustment range.
Alternative paths and brand-specific differences
For exposed butt hinges or unusual furniture hinges with no adjustment features, do not drill new holes merely to imitate a concealed hinge. Use the cabinet maker’s procedure. If the cabinet has settled, fix its support or installation first.
When to stop and ask for help
Stop if the door could detach, the cabinet carcass moves, adjustment reaches its limit or the hinge fails to latch. Do not use power drivers on alignment cams.
Frequently asked questions
How many turns should I make?
There is no universal number. Start with a small fraction of a turn on the verified adjustment screw and inspect the effect.
Why does the door move in two directions?
Some linkage designs couple movements. Recheck all three dimensions after adjustment and use the exact manufacturer guidance.
Sources & further reading
Use the checklists as you go, and confirm the result before moving on to a more involved repair.