How to Defrost a Freezer Safely
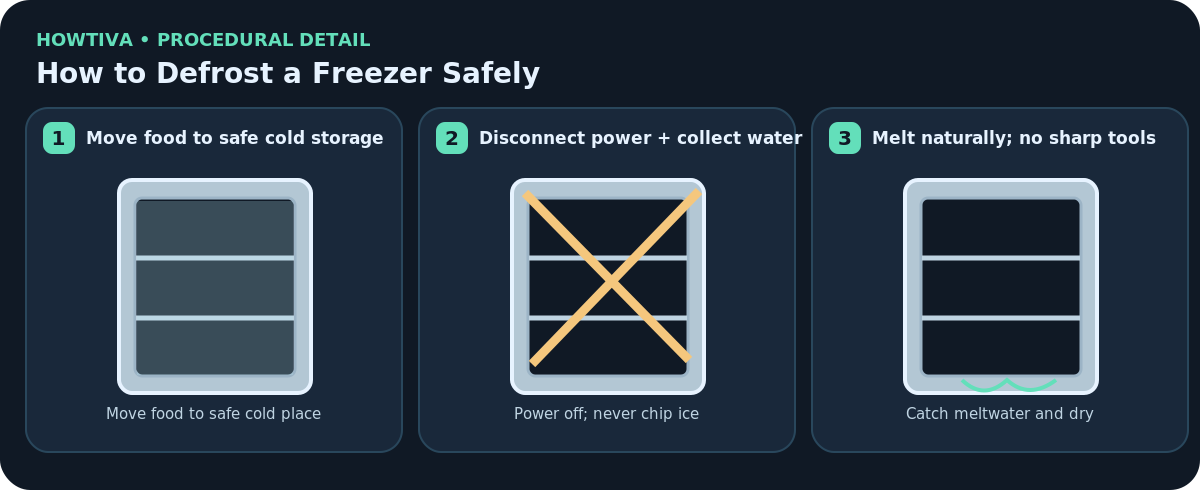
For a manual-defrost freezer, move food to safe cold storage, switch the appliance off or unplug it as the manual directs, protect the floor with towels and let frost melt with the door open. Never chip ice with a knife or use a hair dryer near water.
Quick answer: For a manual-defrost freezer, move food to safe cold storage, switch the appliance off or unplug it as the manual directs, protect the floor with towels and let frost melt with the door open. Never chip ice with a knife or use a hair dryer near water.
Who this is for: Manual-defrost freezers where frost removal is supported by the manufacturer. Automatic-defrost models accumulating ice unexpectedly may have a seal, drainage or control fault and should not be handled with the same routine.
Before you begin: materials and safety
Gather the following:
- Freezer owner’s manual and appliance thermometer
- Working freezer or adequately chilled insulated cooler with ice packs
- Absorbent towels and shallow water-catching tray
- Soft sponge, mild dish detergent, clean cloths
Step-by-step instructions
Step 1: Confirm whether manual defrost is needed
Locate the owner’s manual and check if the appliance is frost-free or manual-defrost. An automatic-defrost model that repeatedly ices up could have a fault. Do not open electrical panels or remove built-in coils; book service for recurring abnormal frost.
Step 2: Plan safe temporary food storage
Move frozen items to another freezer or an insulated cooler that maintains suitable temperatures; use a thermometer where practical. If food thaws, decide whether to refreeze or discard under official time/temperature guidance rather than relying on smell or appearance.
Step 3: Turn the freezer off and disconnect safely
Follow your model instructions to switch off or unplug the appliance with dry hands. Keep the plug away from water and protect electrical outlets. Do not run a hair dryer, heat gun, space heater or other electric device into the damp compartment.
Step 4: Set towels and drainage trays in place
Position absorbent towels at the door and a container under the freezer drain where the manual provides one. Do not pry off a panel to create a drain. Check trays frequently because several layers of ice may produce more water than expected.
Step 5: Let frost melt without puncturing the liner
Open the door or lid as advised by the manufacturer and allow ice to soften naturally. Some makers permit a bowl of hot water placed carefully inside; use that only if your model explicitly allows it and avoid burns. Do not use knives, chisels or sharp picks: puncturing hidden refrigerant components can be hazardous.
Step 6: Clean and dry only after ice is gone
When frost has loosened and drained, wipe accessible surfaces with a soft sponge and mild detergent. Rinse residues with a slightly damp cloth and dry creases and seals completely. Do not saturate controls, vents, sensors or lighting fittings.
Step 7: Restart, check temperature and replace safe food
Reconnect power according to the manual, ensure drainage parts are in their correct positions, and wait until the freezer reaches the specified storage temperature—generally 0°F (-18°C)—before reloading. Recheck food safety using temperature history.
Two real-world situations where the method changes
Standalone manual-defrost chest freezer
Follow its drain plug and tray instructions. Keep the lid open only while necessary and watch water levels.
Frost-free freezer heavily iced near the back wall
Do not pry off covers; repeated localized frost may indicate service is needed.
Troubleshooting: if the result is not right
Water appears near an outlet: Stop, avoid contact with standing water and have the area made electrically safe.
Ice is firmly attached: Wait longer; never lever with a knife or screwdriver.
Food is partly thawed: Use FoodSafety.gov guidance based on time, temperature and remaining ice crystals, not taste.
Frost quickly returns: Inspect gasket and blocked vents; persistent accumulation needs repair.
Alternatives and manufacturer differences
- Some manufacturers permit room-temperature fan airflow directed from outside the appliance; avoid introducing electrical equipment near water unless expressly safe.
- A built-in manual defrost drain or defrost setting may be available; use exactly the model instructions.
- If you cannot store food safely during the process, delay until appropriate cold storage is available.
When to stop and ask a professional
Stop for suspected refrigerant puncture, exposed wiring, pooling water around electrical equipment, failing temperature control or repeated abnormal frost.
Final checks and prevention
Check drainage, dryness and freezer temperature; return only food confirmed safe by an appropriate time/temperature assessment.
Frequently asked questions
How do I know when to stop?
Stop for suspected refrigerant puncture, exposed wiring, pooling water around electrical equipment, failing temperature control or repeated abnormal frost. A clean appearance alone does not prove that contaminated food, persistent water ingress, damaged fabric or faulty equipment is safe.
Sources & Further Reading
- Whirlpool — How to Defrost the Freezer (Defrost steps, drainage, no sharp tools or hair dryer.)
- Whirlpool — Troubleshooting a Freezer That’s Getting Too Cold (Airflow and defrost safety limits.)
- FoodSafety.gov — 4 Steps to Food Safety (Freezer storage target and perishable handling.)
Use the checklists as you go, and confirm the result before moving on to a more involved repair.