How to Organize a Fridge for Easy Cleaning
Discard spoiled food, group items in removable washable bins, keep raw meat and seafood sealed below ready-to-eat food, and leave air vents clear. Use a refrigerator thermometer to maintain 40°F (4°C) or below.
Quick answer: Discard spoiled food, group items in removable washable bins, keep raw meat and seafood sealed below ready-to-eat food, and leave air vents clear. Use a refrigerator thermometer to maintain 40°F (4°C) or below.
Who this is for: General household refrigerator organization for easier wiping and less cross-contamination. Compartment temperature and recommended produce humidity vary by model; this is not a rigid universal shelf-temperature map.
Before you begin: materials and safety
Gather the following:
- Food-safe leakproof containers and a few removable washable bins
- Working refrigerator thermometer
- Label tape or dated containers for leftovers
- Mild dish soap, clean cloths and the refrigerator manual
Step-by-step instructions
Step 1: Begin with an expiration and spill check
Remove one section at a time and throw out visibly spoiled or unsafe food rather than keeping it to avoid waste. Check current food safety storage times, which differ for raw meat, cooked leftovers and prepared foods. Do not taste food to test safety.
Step 2: Measure cooling rather than assuming shelf temperature
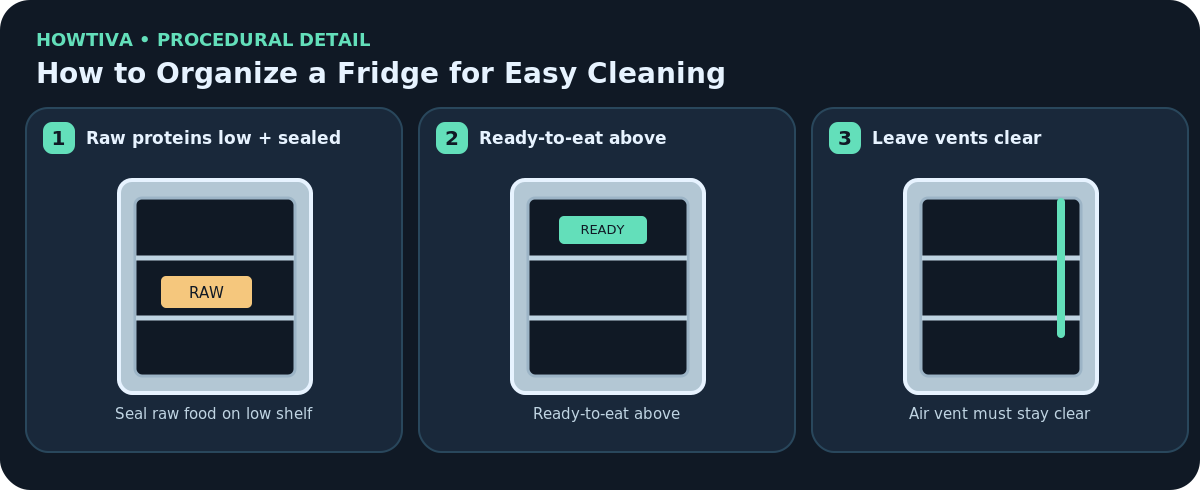
Place an appliance thermometer where your manual recommends, checking that the refrigerator remains at or below 40°F (4°C). Temperature controls marked with numbers are not always degrees. Do not block return air or supply vents with containers.
Step 3: Separate raw animal products from ready-to-eat food
Store raw meat, poultry and seafood in covered leakproof containers below cooked leftovers and ready-to-eat food, so drips cannot contaminate them. Always prioritize manufacturer-designated meat drawers if they are designed and operated for this purpose.
Step 4: Group smaller items into easy-to-lift bins
Place condiments and sealed packaged items in a few appropriately sized bins. Avoid tightly packed baskets that stop airflow or make it difficult to spot spills. Set apart foods with strong aromas and keep anything that can leak on a washable base.
Step 5: Use crisper drawers for compatible produce
Follow the fridge maker’s humidity-drawer settings. Some fruits release ethylene and can affect sensitive produce; do not assume all vegetables prefer the same drawer. Keep the drawer easy to remove so debris and moisture can be cleaned before mold appears.
Step 6: Label leftovers and keep older food visible
Date home-prepared containers and arrange the oldest safe items toward the front. USDA refrigerator charts provide different limits by food type; use those rather than universal seven-day rules. Keep individual containers shallow when quickly chilling prepared food.
Step 7: Create a short weekly maintenance routine
Check spills and food condition weekly, wipe small leaks promptly, then wash and dry detachable bins when soiled. For recall contamination, CDC recommends a separate thorough cleaning and, where appropriate, sanitizing protocol.
Two real-world situations where the method changes
Raw chicken package near fresh salad
Move chicken into a leakproof tray on the lowest appropriate shelf and keep produce and ready-to-eat foods above.
Overcrowded fridge with warm spots
Remove excess containers, open airflow around vents and measure actual temperatures after rearranging.
Troubleshooting: if the result is not right
Food keeps freezing in the fridge: Check temperature, airflow and manual-recommended placement; do not push products against vent outlets.
Condensation collects under bins: Dry spills, avoid blocked vents and monitor gasket closure.
Old food is forgotten at the back: Use labeled containers and a front-visible older-food area while honoring safety dates.
Bin prevents door from closing: Remove or downsize it; airtight door closure matters more than storage density.
Alternatives and manufacturer differences
- Use dedicated crisper controls or chilled drawers only if your refrigerator has them and the manual defines their operation.
- For small refrigerators with no dedicated drawers, leakage prevention and measured cooling are more important than imitating a large refrigerator layout.
- Large refrigerator makeovers can be done one zone at a time to shorten food exposure at room temperature.
When to stop and ask a professional
Stop and seek service for unexplained sustained temperatures above 40°F (4°C), repeated pooling from internal drains or an unsealed door.
Final checks and prevention
Keep sealed raw products separate, older safe food visible, vents unobstructed, and a thermometer in place.
Frequently asked questions
How do I know when to stop?
Stop and seek service for unexplained sustained temperatures above 40°F (4°C), repeated pooling from internal drains or an unsealed door. A clean appearance alone does not prove that contaminated food, persistent water ingress, damaged fabric or faulty equipment is safe.
Sources & Further Reading
- FoodSafety.gov — 4 Steps to Food Safety (Cold food timing and refrigerator temperature.)
- FoodSafety.gov — Cold Food Storage Chart (Food-specific safe storage periods.)
- CDC — Preventing Food Poisoning (Prompt chilling and safe refrigerator/freezer temperature.)
- Whirlpool — Cleaning the Interior of the Refrigerator (Removable parts and safe cleaning.)
Use the checklists as you go, and confirm the result before moving on to a more involved repair.