How to Clean Refrigerator Door Seals
Wipe the refrigerator door gasket with a soft cloth dampened with mild soapy water, gently clean accessible folds, rinse with a clean damp cloth and dry thoroughly. Check that food containers are not blocking the door and that the seal is undamaged.
Quick answer: Wipe the refrigerator door gasket with a soft cloth dampened with mild soapy water, gently clean accessible folds, rinse with a clean damp cloth and dry thoroughly. Check that food containers are not blocking the door and that the seal is undamaged.
Who this is for: Routine dirt and stickiness on flexible refrigerator gaskets. This is not a repair for ripped seals, warped doors, appliance leveling faults or significant mold contamination.
Before you begin: materials and safety
Gather the following:
- Mild dish soap and lukewarm water
- Soft cloth, small soft brush only if permitted by manufacturer
- Dry microfiber towel and refrigerator thermometer
- Exact appliance model manual
Step-by-step instructions
Step 1: Inspect the gasket and door path
Open the refrigerator and check the rubber all around, including the lower corners where crumbs collect. Look for splits, hardened areas, missing sections and folded material. Check shelves or packages preventing closure. A visibly damaged gasket needs parts/service guidance rather than extra scrubbing.
Step 2: Prepare a mild cleaner
Use lukewarm water with a small amount of mild detergent. Whirlpool advises soft cloths or sponges for door gaskets. Avoid abrasives, petrol-based cleaners, powerful degreasers and concentrated bleach that may damage appliance surfaces; consult your model manual.
Step 3: Clean the exposed gasket face
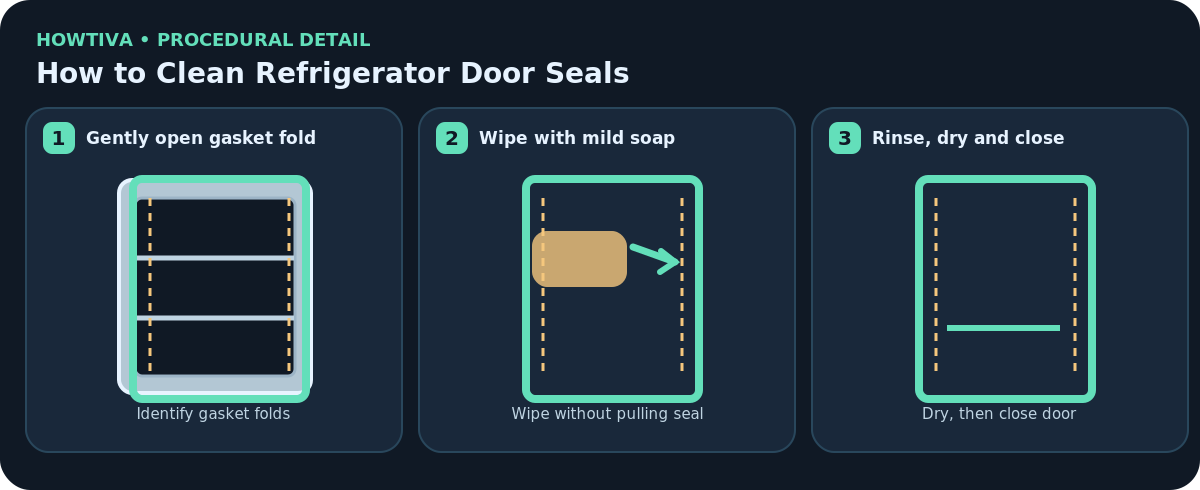
Wipe from the upper corners down, using gentle pressure to loosen sticky residue. Keep water out of the door electronics, ice dispenser wiring and vents. For a long seal, rotate cloth sections so dirt is not spread from one corner to another.
Step 4: Lift accessible folds lightly
Where the design allows, part the flexible fold with a fingertip or soft cloth and remove trapped crumbs. Do not pull hard, stretch the gasket out of its channel or poke at it with metal objects. If the recess is inaccessible, refer to model instructions.
Step 5: Rinse and dry every section
Follow with a clean, slightly damp cloth to remove soap, then a dry towel along the entire seal. Lingering moisture in lower corners may invite more grime. Do not apply lubricant, wax or silicone unless the exact refrigerator manual calls for it.
Step 6: Close the door and confirm contact
Inspect the full perimeter visually after closure. Try moving any shelf or container that touches the door before blaming the gasket. If the door still fails to seal, level or alignment may be involved and requires manufacturer instructions or qualified service.
Step 7: Check refrigerator temperature afterward
Use an appliance thermometer to verify 40°F (4°C) or below in the refrigerator. Monitor if you previously found a gap, persistent condensation or unusual frost. Regularly clean crumbs to prevent the door from sticking.
Two real-world situations where the method changes
Sticky gasket after spilled juice
Use mild soapy water and a soft cloth, then rinse and dry the seam nearest the spill.
Door rebounds after closing
Check for oversized food packages or an improperly seated drawer; do not use stronger cleaners to fix a mechanical obstruction.
Troubleshooting: if the result is not right
Seal is cracked or detached: Stop cleaning as repair; request the correct gasket or service for the model.
Condensation reappears quickly: Check sealing, door use and measured temperature; seek technical help if unexplained.
A fold holds black deposits: Do not assume this is harmless dirt; isolate visible contamination and follow appropriate mold guidance.
Gasket pulls loose during cleaning: Stop stretching; manufacturer replacement instructions are model-specific.
Alternatives and manufacturer differences
- If the door is difficult to reopen immediately, a brief pressure difference may be normal and is not proof of a defective gasket.
- Some models have replaceable gaskets; part numbers and fitting steps must be checked on the manufacturer’s support page.
- Paper-slip tests can be a rough observation, not a reliable diagnosis across all magnet and seal designs.
When to stop and ask a professional
Stop for ripped seals, electrical moisture intrusion, sustained temperatures above the safe range or an obviously misaligned door.
Final checks and prevention
After closing, visually confirm an unobstructed full-perimeter seal and monitor refrigerator temperature if closure was previously suspect.
Frequently asked questions
How do I know when to stop?
Stop for ripped seals, electrical moisture intrusion, sustained temperatures above the safe range or an obviously misaligned door. A clean appearance alone does not prove that contaminated food, persistent water ingress, damaged fabric or faulty equipment is safe.
Sources & Further Reading
- Whirlpool — Door Hard to Open — Refrigerator (Gasket washing with mild detergent, rinse and dry.)
- Whirlpool — Cleaning the Interior of the Refrigerator (Gasket folds and avoid harsh cleaners.)
- FoodSafety.gov — 4 Steps to Food Safety (Safe refrigerator temperature.)
Use the checklists as you go, and confirm the result before moving on to a more involved repair.