How to Hang a Picture Frame Straight
Choose a mounting method rated for the combined frame weight and compatible with the wall. Mark the desired frame center and top, then measure the distance from its top edge to the actual loaded hanger point.
Quick answer: Choose a mounting method rated for the combined frame weight and compatible with the wall. Mark the desired frame center and top, then measure the distance from its top edge to the actual loaded hanger point. Transfer that drop onto the wall, install the correct hanger in a safe location, hang the frame and check it with a level. For two hooks, mark both points on one level horizontal line.
Straight picture hanging is mostly about measuring the hanging hardware, not eyeballing the nail. Wire, D-rings, sawtooth brackets and removable adhesive strips all sit differently behind a frame. Wall construction matters: solid masonry, drywall with timber studs, hollow plasterboard and tile need different fixings. Do not drill until you have checked for possible cables, pipes and other concealed hazards.
Check applicability and set up safely
You will need:
- Tape measure, pencil and painter’s tape
- Small bubble level
- Mounting hardware explicitly rated for the frame and wall surface
- Stud/utility awareness and appropriate professional help when uncertain
Step-by-step procedure
Step 1: Weigh the framed item and identify the wall
Include glass, frame and backing in the total weight. Check whether the mounting surface is smooth cured paint, plasterboard, wood, masonry or tile. Heavier items or hanging above a bed require secure mechanical fastening into suitable structure; adhesive strips may not be appropriate.
Step 2: Find the horizontal center and desired height
Measure the frame width and mark its center on removable tape. Measure the wall area to decide the position. Many gallery arrangements use an approximate viewing-height center, but this is a design choice rather than a safety standard.
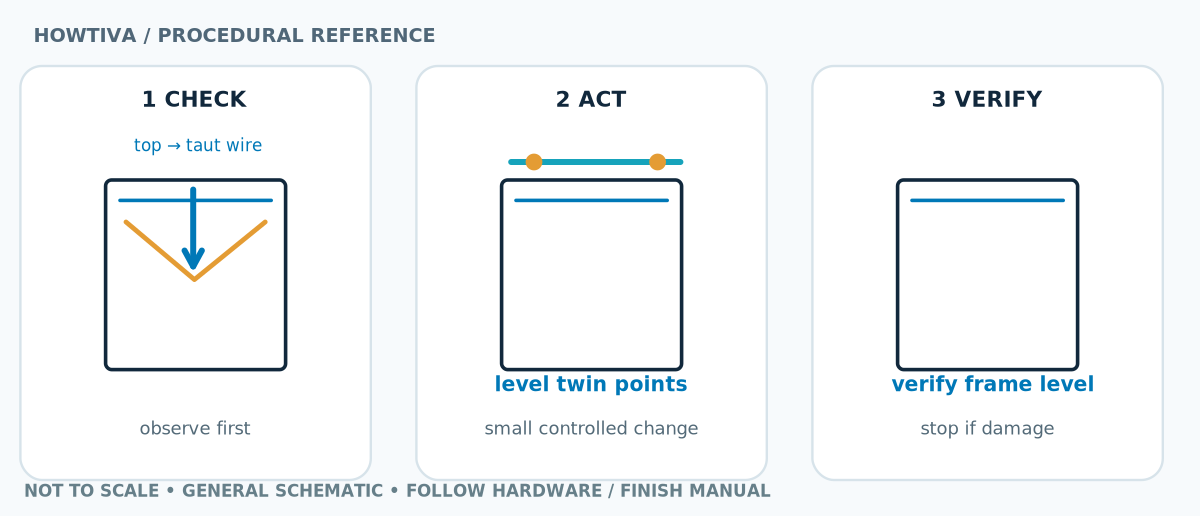
Step 3: Measure the actual hanging-point drop
For a rigid sawtooth or D-ring, measure from the top of the frame to where the hook bears weight. For picture wire, hold it taut in the position it will take on the wall and measure to the highest loaded point; do not measure the relaxed sag and guess.
Step 4: Transfer the hook position to the wall
Mark the intended top-center frame point, then measure down by the actual hanger drop and mark the hook location. If there are two D-rings, measure the center-to-center horizontal distance and mark both hook points on a level line. Check with a tape measure twice.
Step 5: Install only suitable hardware in a checked location
Follow the anchor and wall manufacturer’s directions. For drywall, heavy loads typically need a stud or appropriate rated anchor. Avoid blind drilling or nailing near wiring, plumbing and structural services. For lightweight frames on compatible painted surfaces, a picture-specific adhesive strip may be an option if its exact package weight and size restrictions are met.
Step 6: Hang, level and test gently
Support the frame as you place it on the hanger, verify that both hooks engage, and use a small level on the top edge. Adjust within the safe hanger adjustment range; do not loosen a structural fastener just to tilt the picture. Check after a few hours and whenever the wall or hardware changes.
Two real-world situations to compare before repeating a step
Wire-backed frame hangs too low
The wire stretches upward when it bears weight. Measure its taut hanging position, not the resting sag on the back, then mark the wall hook drop correctly.
Large glass picture above a sofa
Measure full weight including glass and select rated mechanical mounting suited to the substrate. Do not assume a generic adhesive strip is safe merely because the wall looks smooth.
Troubleshooting: when the first check does not solve it
Frame is level today but tilts later. A slack wire, shifting single-point hanger or vibration can change angle. Consider proper two-point frame hardware.
The first mark puts the picture too low. The hook drop was likely measured from the wrong part of a taut wire or D-ring; remeasure the loaded position.
Adhesive strip starts peeling. Take the frame down safely immediately. Verify wall condition, surface preparation, frame size/weight and exact product instructions.
The wall crumbles or an anchor spins. Stop. That substrate needs a different approved anchor or qualified installation.
Alternative paths and brand-specific differences
Command picture strips have product-specific weight limits, size limits, supported surfaces and application/removal procedures, including a wait period before hanging. Do not substitute ordinary Command hook replacement strips for picture-hanging strips. Valuable, irreplaceable or heavy art calls for mechanical professional installation.
When to stop and ask for help
Stop before drilling if wall services cannot be located, the wall substrate is unknown or the object is unusually valuable/heavy. A fallen frame can injure someone.
Frequently asked questions
Is 57 inches always the right picture height?
No. It is a common gallery starting reference, not a rule; adapt to furniture, room use and people viewing it.
Can I use adhesive strips on wallpaper?
Command does not recommend its products for wallpaper. Use a hanging method appropriate to the wall and object.
Sources & further reading
-
The Home Depot: How to Hang a Picture
-
Command™ Brand: How to Use Picture Hanging Strips
-
Command™ Brand: Have Questions? FAQs
Use the checklists as you go, and confirm the result before moving on to a more involved repair.