How to Replace a Faucet Aerator
Identify exposed versus recessed aerators, use a matching key if required, and reinstall the proper gasket and part.
Quick answer: To replace a removable faucet aerator, turn the faucet off, place a towel over the sink drain, identify whether the outlet uses a visible screw-on ring or a recessed keyed insert, then remove it gently with the appropriate grip or manufacturer key. Match the replacement to the faucet’s actual thread or insert type and intended flow rate, keep the gasket in the correct position, thread it back without force, and test for a smooth stream and leaks.
An aerator is the small outlet assembly at the end of many faucets. It can shape the stream, limit flow and trap small grit. Some models have an external threaded ring; others conceal the insert in the spout and require a special key. Pull-down sprayers, stream breakers and integrated outlets may not have a separately replaceable aerator. Do not pry an unidentified insert out of the spout.
Know which aerator you have
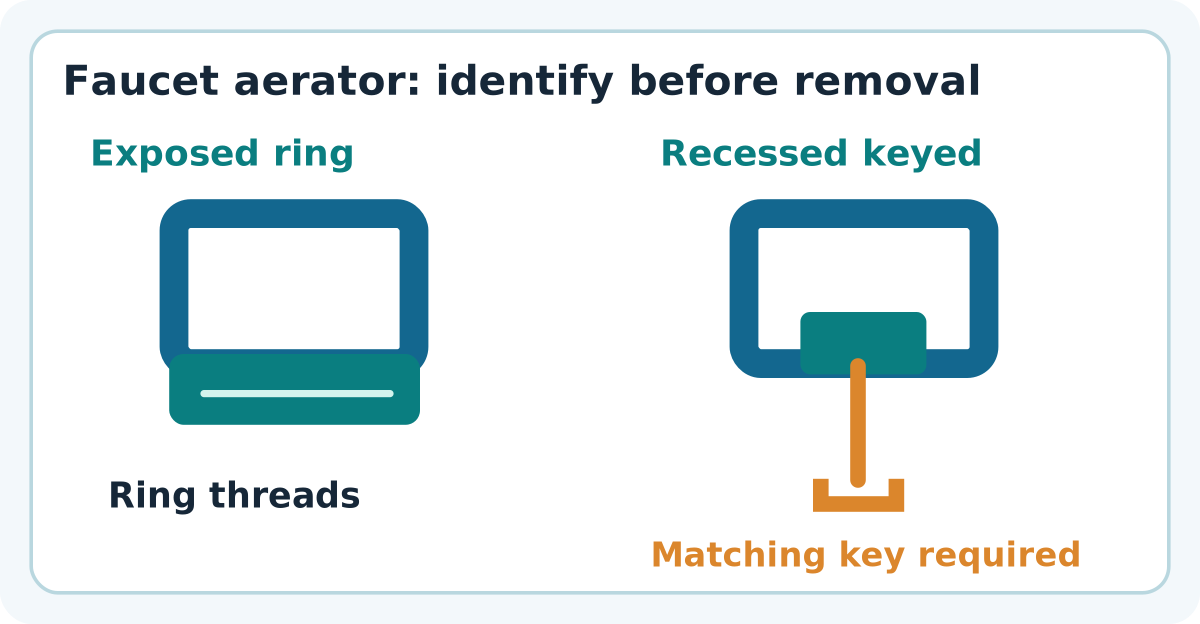
Visible threaded ring: A metal or plastic housing can be seen at the tip and commonly unscrews as a unit. Recessed keyed aerator: The insert sits flush inside the outlet; notches are designed for a fitting-specific key. Integrated spray or stream-breaker outlet: The maker may require a different service method or a complete spray-head replacement. Kohler’s official support separates threaded, keyed and stream-breaker types; do not assume one tool fits them all.
Step 1: prepare the sink and check the part number
- Turn the faucet off and let the remaining water drip out. Dry the spout tip to improve your grip.
- Cover the drain with a clean towel or a tight-fitting plug so the gasket and any small screen cannot fall away.
- Photograph the spout from beneath and inspect the owner’s manual, original packaging, maker’s parts diagram or model number. Look for the aerator part and, if recessed, the correct removal key.
- Before buying a replacement, check the housing diameter, thread type, gasket style and flow rating specified by the manufacturer. Small differences can make an aerator impossible to thread or cause leaks.
Step 2: remove it without damaging the finish
For a conventional exposed ring: Grip it with dry fingers and turn counterclockwise when looking directly at the outlet end. If the manufacturer’s instructions permit a tool, protect the finish with a soft cloth and apply only gentle pressure. If it is seized, stop before twisting the whole spout or damaging plated surfaces.
For a recessed keyed insert: Match the correct key teeth to its notches, keep the key square, then unscrew in the direction specified by the manufacturer. Delta and other brands sell more than one size or design of aerator key; a random wrench can strip the plastic teeth. Do not dig at the edge with a screwdriver or knife.
Set the old housing, insert and washer on a clean towel in order. If the old assembly falls apart, use your brand’s exploded diagram instead of guessing the stacking sequence. Some styles contain a built-in flow regulator that should not be removed or discarded.
Step 3: clean or replace the correct component
If the only problem was an uneven stream or a little grit, first rinse the aerator screen with clean water and a soft brush. A manufacturer-approved descaling treatment may help mineral buildup, but avoid abrasive tools, harsh acids and prolonged soaking of an unknown finish or gasket. EPA notes that mineral scaling can restrict faucet flow, and cleaning or replacing the aerator can help.
Replace the aerator when its screen is torn, the housing cracked, the threads worn or a correct cleaning did not restore the stream. Keep the old part until the new one is installed and working; it is a better fit reference than appearance alone. Select an efficient rating suitable for the location and local plumbing requirements.
Step 4: reinstall and test
- Check the manufacturer’s gasket position and confirm no old gasket remains stuck inside the faucet outlet when the new part already has its own seal.
- Start the replacement by hand with the threads aligned. If it binds on the first turn, back it out and verify compatibility; never cross-thread it.
- Tighten only to the recommended snug fit, using the correct key for a recessed type. Excessive force can crack plastic inserts or damage the threads.
- Turn on the faucet gently and check for a normal, even stream and water escaping around the aerator housing. Turn off and observe the joint again.
- If water leaks around the rim, turn the faucet off. Recheck gasket seating and correct part fit rather than simply tightening harder.
Choosing the right flow rate
In the United States, the EPA’s WaterSense label applies to eligible private bathroom sink faucets and accessories. Its current published criterion for labeled private bathroom aerators is a maximum of 1.5 gallons per minute (gpm), with performance testing; a 1.2 gpm proposal was paused in February 2025. That label is not a universal kitchen-faucet certification. Public restroom requirements can differ markedly from those for a private household basin, and fixtures outside the United States have their own standards.
Match the original design and intended use rather than selecting the lowest number blindly. A commercial faucet may use a very low flow rate, while a kitchen faucet benefits from more flow for filling pots. Never remove an engineered regulator from a rated insert just to increase the stream.
Troubleshooting after replacement
The new aerator does not screw on
Stop after the first sign of resistance. Internal versus external threading, different diameters or a recessed insert style may be the problem. Compare part numbers and the old component; do not force a mismatched part.
Water sprays sideways
Check whether the insert is seated squarely, free of debris and assembled in the right direction. If the stream was already weak with the old aerator, a restriction elsewhere in the faucet may also exist.
There is water leaking around the rim
Inspect for a damaged, twisted, duplicate or missing gasket. Ensure the replacement matches the spout. If it still leaks, return to the manufacturer’s parts diagram or ask a plumber rather than overtightening.
No aerator is visible
You may have a keyed internal insert, stream breaker or integrated spray head. Identify the make and model first. Do not drill, pry or grip the spout with exposed metal tools.
Frequently asked questions
Do I need to turn off the under-sink water valves?
For a straightforward outlet aerator swap, turning off the faucet normally is usually sufficient because you are not opening a pressurized supply connection. If the fixture is leaking unexpectedly, electronically controlled or being serviced in another way, follow the model manual and isolate it as directed.
Are all faucet aerators interchangeable?
No. Thread size, male/female design, recessed-key geometry, seals and flow ratings differ. Use the faucet brand’s part lookup or a direct measured match.
Can replacing an aerator fix a faucet that drips while off?
Usually not. Aerators manage the flowing stream; a persistent closed-faucet drip more often comes from an internal valve or cartridge seal. Diagnose that separately.
Sources and further reading
- Kohler Assist: Removing an aerator | Bathroom Faucets (checked 2026-10-27).
- Delta Faucet: Aerator Removal Wrench RP52217 (checked 2026-10-27).
- U.S. EPA WaterSense: Home Maintenance (checked 2026-10-27).
- U.S. EPA WaterSense: Bathroom Faucets (checked 2026-10-27).
Use the checklists as you go, and confirm the result before moving on to a more involved repair.