How to Clean an Oven Door Glass
Let the oven and door cool fully, check the model’s care instructions, then clean the accessible inside glass with a damp soapy cloth and a non-scratch sponge.
Quick answer: Let the oven and door cool fully, check the model’s care instructions, then clean the accessible inside glass with a damp soapy cloth and a non-scratch sponge. Wipe away soap with a clean damp cloth and dry. Avoid the door gasket and vents. Do not remove a heavy oven door or force anything between glass panes just to reach a stain.
Designed for the reachable interior and exterior glass on a residential oven in sound condition. Self-cleaning, pyrolytic, catalytic, steam-clean and double- or triple-glazed models vary. This guide does not cover removing hinges, separating a bonded glass assembly, repairing cracks or cleaning an electronic camera built into a door.
Before you begin: safety and materials
What you need:
- The exact oven owner’s manual and a stable light source
- Two clean lint-free soft cloths or an approved non-scratch sponge
- Warm water with a little mild dish detergent if the manual allows it
- Dry towel to catch drips without touching seals or vents
- Household gloves if skin is sensitive to approved cleaning products
Step-by-step instructions
Step 1: Switch off, cool and inspect the glass
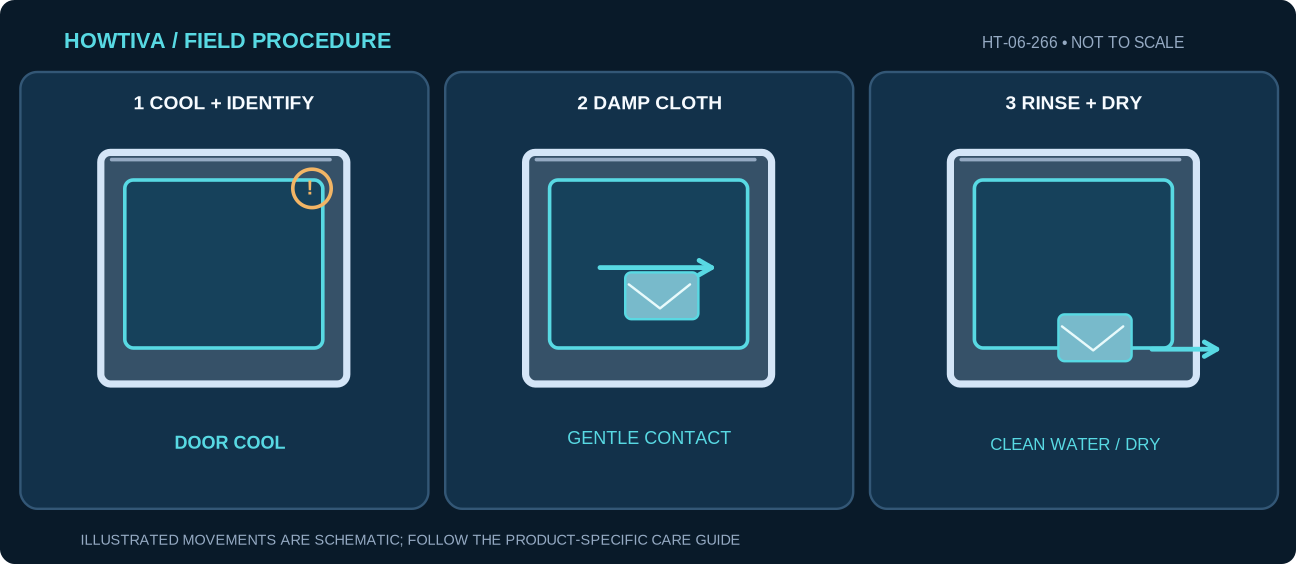
Turn the appliance off and wait until every pane and the frame are comfortably cool. Check for hairline cracks, a loose glass trim, damaged gasket, misaligned hinge or spilled liquid running into vents. A cracked door must be assessed for safe replacement before further use.
Step 2: Identify which side has the stain
Look from several angles under good light. Grease on the accessible inside face is different from streaks trapped between panes. Clean only exposed faces under this low-risk procedure; trapped marks often require manufacturer service and are not a reason to pull off trim.
Step 3: Loosen stuck grease using gentle moisture
For ordinary accessible interior glass, apply mild soapy water to the cloth rather than pouring into the door. GE suggests a soapy damp cloth or a non-abrasive cleaner appropriate to the model. Briefly hold the moistened cloth on stubborn splatter, keeping the woven gasket and vents dry.
Step 4: Wipe the softened deposits with light pressure
Make short overlapping strokes with the cloth or permitted soft sponge. Lift rather than grind crumbs into glass. Do not use metal razor blades, scouring wool or an aggressive oven spray as a universal solution; finishes, printed markings and coatings differ by model.
Step 5: Rinse residue without flooding the door
Use a separately rinsed and wrung-out cloth to pick up loosened grease and detergent. Keep liquid out of the vents at the top of the door and off the fibrous gasket. On an exterior pane, use only glass cleaners explicitly allowed by the appliance maker and avoid control buttons.
Step 6: Dry, recheck and stop at inaccessible marks
Buff with a dry soft cloth. Check for remaining film only after the panel is dry. If cloudiness is inside the double glazing, do not pry it apart—consult the service manual or arrange a qualified technician. If there is a burning odor or crack, do not operate the oven.
Practical examples: when the procedure changes
A baked-on spill is on the inside face
Repeat the manufacturer-approved damp-cloth treatment before attempting anything stronger. GE offers non-abrasive options for some ovens; permission is not interchangeable with every model.
Streaks appear sealed between two panes
An outside wipe will not reach them. Whirlpool warns that removing and dismantling doors is generally not a routine owner task; service can avoid damaged hinges, sensors and seals.
Troubleshooting: what can go wrong
Cloudiness remains after drying: Use daylight to distinguish surface residue from inaccessible glass layers; repeat only gentle wiping on the exposed surface.
A crumb catches on the gasket: Lift it carefully without scrubbing, soaking, or pulling the gasket loose.
Grease reappears around the frame: Investigate whether food spills or condensation track into a gap; avoid washing liquid into that opening.
The door has a camera, vent or moving trim: Use exactly the model-specific care route; do not improvise a between-pane cleaning wand.
Alternatives, materials and model differences
If the manual provides a dedicated steam-clean or self-clean cycle, follow that exact procedure and all precautions; the cycle is not interchangeable with hand cleaning on a hot door. For stubborn grease, GE lists baking-soda paste for some models, but do not generalize it to protected coatings, black glass or trims.
Stop conditions and when to request qualified help
Stop if the glass is cracked, hinges shift, the door will not latch, a camera is embedded in the glass, there is a burning electrical odor, or stains are inside an assembly that requires disassembly. Never clean hot glass or soak the gasket.
Frequently asked questions
Can I clean between the two glass panes myself?
Not as a universal DIY step. Some manufacturers describe methods for selected doors, but other models require service and cameras or special hinges can be damaged.
Can I spray cleaner directly onto glass?
Apply a model-approved product to the cloth first when possible. Direct overspray can enter vents, gaskets or electronic controls.
Sources & further reading
-
GE Appliances: Cleaning the Oven Door Interior
-
GE Appliances: Range & Wall Oven — Cleaning Interior Window
-
Whirlpool: How to Clean an Oven Inside and Out
Use the checklists as you go, and confirm the result before moving on to a more involved repair.