How to Clean a Reusable Water Bottle
Empty the bottle, take apart only the removable pieces identified in its instructions, scrub the body with warm water and dish soap, clean the cap, sipping port, straw and permitted gasket separately, rinse thoroughly and let every part air-dry before reassembly.
Quick answer: Empty the bottle, take apart only the removable pieces identified in its instructions, scrub the body with warm water and dish soap, clean the cap, sipping port, straw and permitted gasket separately, rinse thoroughly and let every part air-dry before reassembly.
Who this is for: Applies to everyday reusable drinking bottles made of compatible stainless steel, glass, or food-grade plastic. Insulated flasks, filtered lids, silicone valves, built-in electronics and specialty coating finishes need their exact care instructions.
Before you begin: materials and safety
Do not put an unknown bottle in a dishwasher or boiling water. Never submerge electronic bottle caps or filtered components unless expressly approved. Avoid bleach/acid mixtures and improvised soaking recipes; special sanitizing steps depend on the bottle maker and intended use.
What to gather:
- Mild dish soap and warm potable water
- Clean bottle brush sized to fit the opening; narrow straw brush only where it can pass freely
- Clean drying rack and a tray to keep small gasket pieces from being lost
- Product care page or manual for the exact bottle model
Step-by-step instructions
Step 1: Identify the bottle and what can be detached
Read branding/model markings and the maker’s cleaning instructions. Some bottles have pull-out straws, screw-off mouthpieces, removable silicone seals or magnetic sliders; others contain captive mechanisms you should not pry apart. Photograph the lid assembly before separating approved pieces, especially if the gasket direction matters. Check the bottle itself—not just the cap—for dishwasher eligibility.
Step 2: Empty old liquid and inspect for damaged parts
Pour away the remaining drink, check for odor, debris, cracks, deteriorating seals, cloudy residue or a damaged lid mechanism. A cracked drinking surface, persistent visible growth inside inaccessible passages or a degraded food-contact seal merits replacement or manufacturer advice, not harder scrubbing. If the bottle held milk, smoothies or sweetened drinks, pay extra attention to tiny valve and straw cavities.
Step 3: Wash the bottle interior with a soft brush
Add warm potable water and a small amount of dish soap. Use a clean bottle brush to reach the base, shoulder and threaded neck. Work a few passes up and down without forcing a metal shaft against interior coatings. For narrow bottles, select a correctly sized soft brush instead of jamming a wider one into the opening. Empty the soapy water and inspect the base; repeat once if film remains.
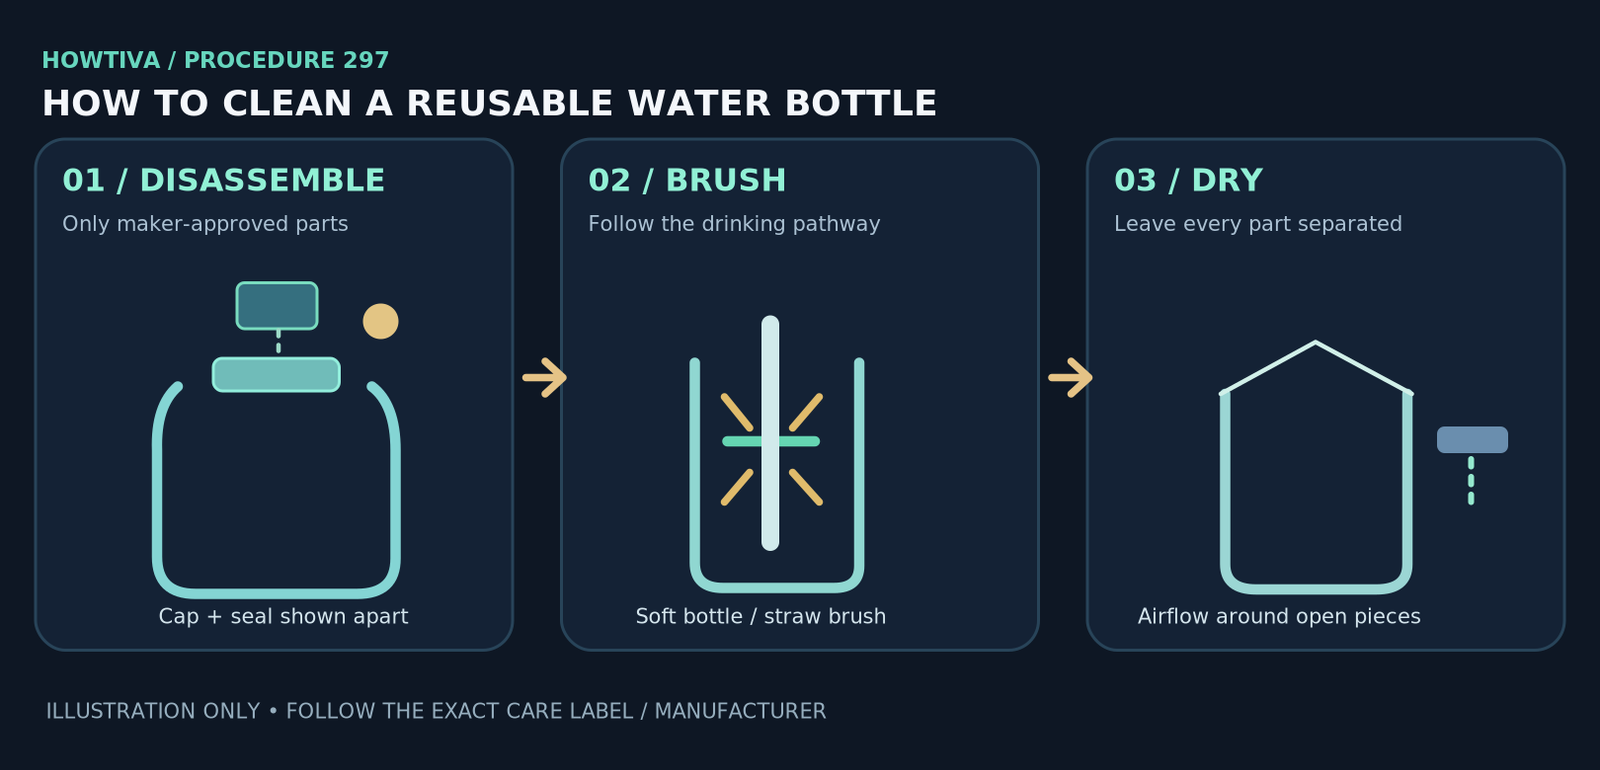
Procedure illustration: original step sequence showing how to clean a reusable water bottle; follow material and manufacturer limitations, not a simulated hands-on test.
Step 4: Scrub the cap, mouthpiece, straw and allowed gaskets
Clean removable pieces individually so water and soap reach the surfaces normally hidden when assembled. Brush through a detached straw only if the maker’s instructions permit; never force a brush through a silicone bite-valve slit that could tear. Clean under removable O-rings with a soft tool and keep them in a tray. For a fixed lid assembly, use only approved access points rather than prying plastic snaps.
Step 5: Rinse each wetted drinking-contact surface
Rinse under clean potable running water until no suds or loose debris remain. Let water flow through the straw, valve and sipping port in their normal direction, as the design allows. Check the inside of the lid for bubbles. If a strong detergent scent persists, rinse again; adding lemon juice or fragrance is not a substitute for proper cleaning.
Step 6: Air-dry completely and reassemble deliberately
Set the bottle upside down at an angle that lets air circulate; spread separated lid components, seals and straws on a clean rack so moisture does not pool. Once dry, refit gaskets according to their orientation and test the lid with plain water over a sink. Store an empty bottle with its cap off or loose when practical so trapped humidity does not build up.
Real-world cases that change the plan
Straw bottle used for protein shakes
Disassemble only permitted parts after each use, and remove residue immediately rather than letting protein dry inside the tube. A neglected inaccessible tube or damaged valve may need a replacement cap.
Insulated stainless-steel bottle with dishwasher marking uncertainty
Hydro Flask distinguishes newer dishwasher-safe models from older/Trail Series models. Treat markings and model-specific instructions as decisive instead of copying care rules from a similar-looking bottle.
Troubleshooting: when the first attempt does not work
- The lid smells bad after washing: Inspect approved removable seal grooves; residue can hide beneath rings. Replace deteriorated components rather than dosing with unapproved harsh cleaners.
- The bottle leaks after reassembly: Confirm gasket seating and screw-thread alignment; do not overtighten a cross-threaded cap. Replace torn seals.
- A straw still contains visible buildup: Use a correctly sized approved brush. If the pathway cannot be cleaned or the component is damaged, obtain a replacement part.
- Water pools near the base while drying: Angle the bottle on a clean rack and increase airflow; avoid closing it while damp.
Alternatives and important model differences
- Dishwasher cleaning is an option only when the specific bottle and each lid part are marked dishwasher-safe; place parts in manufacturer-approved rack positions.
- For bottles without removable gaskets or valves, use manufacturer cleaning accessories and avoid prying parts apart.
- For visibly damaged, mold-stained or inaccessible drinking pathways, replacement may be safer than repeated unverified sanitizing attempts.
Common mistakes to avoid
Do not assume caps, gaskets and tubes can all be dismantled or washed in a dishwasher. Do not leave damp parts sealed inside a cupboard. Avoid brushes stiff enough to cut silicone valves.
Cleaning frequency should increase after sticky drinks or communal use. For a complex lid whose inner channel cannot be accessed, order the official replacement cap rather than prying it open.
Frequently asked questions
Can I use a dishwasher for every stainless-steel water bottle?
No. Dishwasher suitability varies even within a brand and product generation. Consult the exact bottle and lid instructions.
How often should I wash a bottle I use every day?
Washing after each day of use is a practical baseline; after dairy, sweetened drinks or sharing, clean promptly. Follow product-specific instructions.
Is rinsing with water enough?
A rinse can remove loose liquid but not reliably the residue in cap threads, seals or straws. Use soap and appropriate gentle mechanical cleaning.
Sources & Further Reading
- CamelBak — Care and Cleaning (checked 2026-10-27)
- Hydro Flask — Is Your Hydro Flask Water Bottle Dishwasher Safe? (checked 2026-10-27)
- Hydro Flask — How to Clean Your Closeable Press-In Lid (checked 2026-10-27)
- CDC — Safe Water Storage (checked 2026-10-27)
Use the checklists as you go, and confirm the result before moving on to a more involved repair.