How to Remove Odors from a Refrigerator
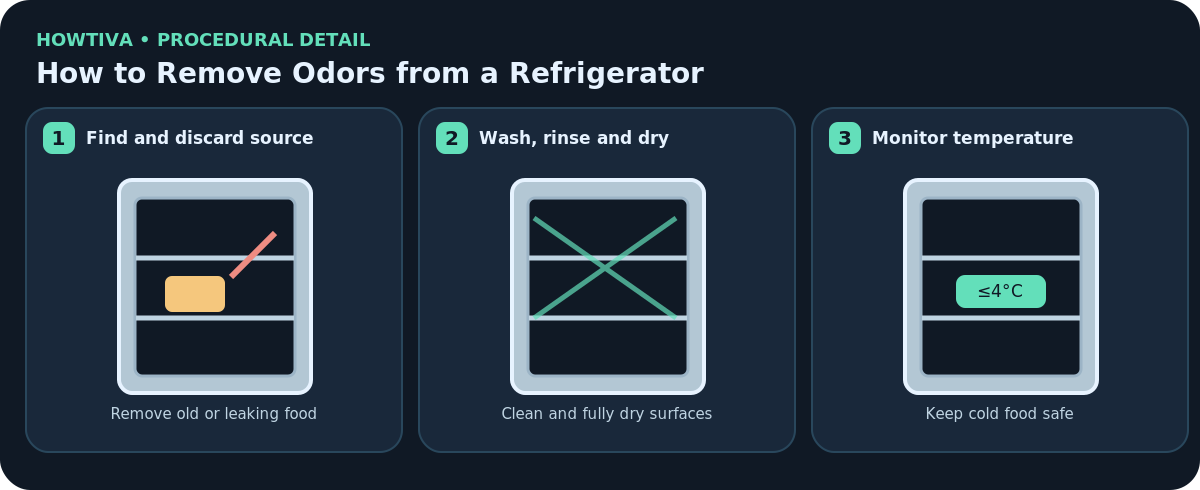
Find and discard spoiled or questionable food, wipe spills, wash removable refrigerator parts and interior with a manufacturer-approved mild cleaner, rinse and dry. Keep perishables cold during the process and verify refrigeration temperature afterward.
Quick answer: Find and discard spoiled or questionable food, wipe spills, wash removable refrigerator parts and interior with a manufacturer-approved mild cleaner, rinse and dry. Keep perishables cold during the process and verify refrigeration temperature afterward.
Who this is for: Routine food odors in an operating refrigerator; smoke, flood, sewage, severe mold, chemical spills, major power outages or compressor problems require different safety decisions.
Before you begin: materials and safety
Gather the following:
- Cooler with ice packs and a refrigerator thermometer
- Mild dish detergent, clean water, soft cloths and towels
- Sealable trash bags for spoiled items
- Fridge model manual; optional open baking-soda container for remaining mild food smells
Step-by-step instructions
Step 1: Locate the odor source before masking it
Check leftovers, soft produce, packages with leaks, crisper bottoms, drip tracks and hidden door-bin corners. Throw out questionable or spoiled food without tasting it. If odor followed an outage, consult food-safety discard rules rather than judging safety by smell alone.
Step 2: Protect food while cleaning
Move perishables into a functioning refrigerator or cooler maintained at safe temperature. Plan a short cleaning session; avoid leaving perishables unrefrigerated for more than two hours, or one hour above 90°F (32°C), in line with FoodSafety.gov guidance.
Step 3: Remove washable drawers and shelves carefully
Check how each shelf lifts or slides out according to your appliance model. Let cold glass approach room temperature before washing; sudden hot water may crack it. Wash removable pieces with mild detergent and water, rinse and dry before returning them.
Step 4: Wipe the interior and door seals
Use a lightly damp, soapy cloth on interior walls, door bins, crisper grooves and the door-gasket folds. Avoid dripping water into controls, light fixtures and air vents. Rinse detergent residue with a separate clean damp cloth; dry completely.
Step 5: Inspect drains and hidden reservoirs only if accessible
Some refrigerators have owner-accessible defrost drains or drip pans, while others require service access. Follow your model instructions: do not remove electrical covers or enter compressor areas. If liquid has seeped behind a fixed wall, call appliance service.
Step 6: Reassemble and verify safe cooling
Put the dry components back, close the door and verify the interior reaches 40°F (4°C) or below on a refrigerator thermometer. Keep the freezer at 0°F (-18°C) or below. Only return food that was safely stored throughout cleaning.
Step 7: Treat lingering odor without perfumes
If the source is removed and the refrigerator is clean, a small open box of baking soda can help with light residual odors, consistent with USDA advice. Avoid fragrances and strong cleansers that can transfer chemical taste; persistent odor may need manufacturer service.
Two real-world situations where the method changes
A forgotten produce bag leaked into the drawer
Discard contents; remove the drawer if safely detachable, wash and dry the tray and the channels beneath it.
An extended power outage left spoiled meat
Use official outage and disposal guidance. Odor cleaning cannot make spoiled food safe; severe contamination may require more intensive service.
Troubleshooting: if the result is not right
Smell persists after washing: Check hidden spills and air circulation; follow the appliance manual before attempting drain maintenance.
Cold glass develops stress lines: Stop use and arrange replacement; never use hot water directly on cold glass.
Odor returns with a temperature alarm: Check measured temperature and request appliance repair; cleaning cannot solve inadequate cooling.
Food surfaces smell of cleaner: Rinse again with clean water and dry; discontinue strong fragrances.
Alternatives and manufacturer differences
- USDA offers additional techniques for stubborn post-spoilage odor, but some are intensive and may be unsuitable for specific refrigerator interiors.
- Use a model-approved air filter where available; an air filter does not substitute for removing the source of a spill.
- For a recalled food or illness-related contamination, use CDC sanitation guidance separately from routine deodorizing.
When to stop and ask a professional
Stop and arrange service for unsafe temperatures, recurring leaks, damaged wiring, unknown chemical spill, heavy mold or contamination beyond reach.
Final checks and prevention
Verify that unsafe food has been discarded, shelves are dry and refrigeration is at the safe temperature before restocking.
Frequently asked questions
How do I know when to stop?
Stop and arrange service for unsafe temperatures, recurring leaks, damaged wiring, unknown chemical spill, heavy mold or contamination beyond reach. A clean appearance alone does not prove that contaminated food, persistent water ingress, damaged fabric or faulty equipment is safe.
Sources & Further Reading
- USDA FSIS — Removing Odors from Refrigerators and Freezers (Spoiled food removal, interior cleaning and lingering odor options.)
- Whirlpool — Cleaning the Interior of the Refrigerator (Cold glass caution, removable parts, gentle detergent and gasket cleaning.)
- FoodSafety.gov — 4 Steps to Food Safety (Food time/temperature safety.)
Use the checklists as you go, and confirm the result before moving on to a more involved repair.