How to Remove Deodorant Marks from Shirts
For light deodorant streaks, pretreat the underarm area with a little liquid laundry detergent and wash according to the garment label.
Quick answer: For light deodorant streaks, pretreat the underarm area with a little liquid laundry detergent and wash according to the garment label. For heavy buildup, use a fabric-safe prewash remover, allow its labeled contact time and consider an oxygen-laundry product only if the care symbols permit it.
For washable shirts with antiperspirant/deodorant residue. White surface streaks, yellowing, stiff underarm buildup and actual dye loss are different problems. Silk, wool, leather detailing, delicate finishes and dry-clean-only shirts need another approach.
Before you begin: safety and materials
What you need:
- Shirt care tag and a clean soft white cloth
- Liquid laundry detergent or fabric-approved prewash stain remover
- Small container of cool water for gentle dampening
- Washer with care-label cycle
- Optional labeled oxygen-bleach laundry product only if permitted
Step-by-step instructions
Step 1: Decide whether the mark is residue or damaged dye
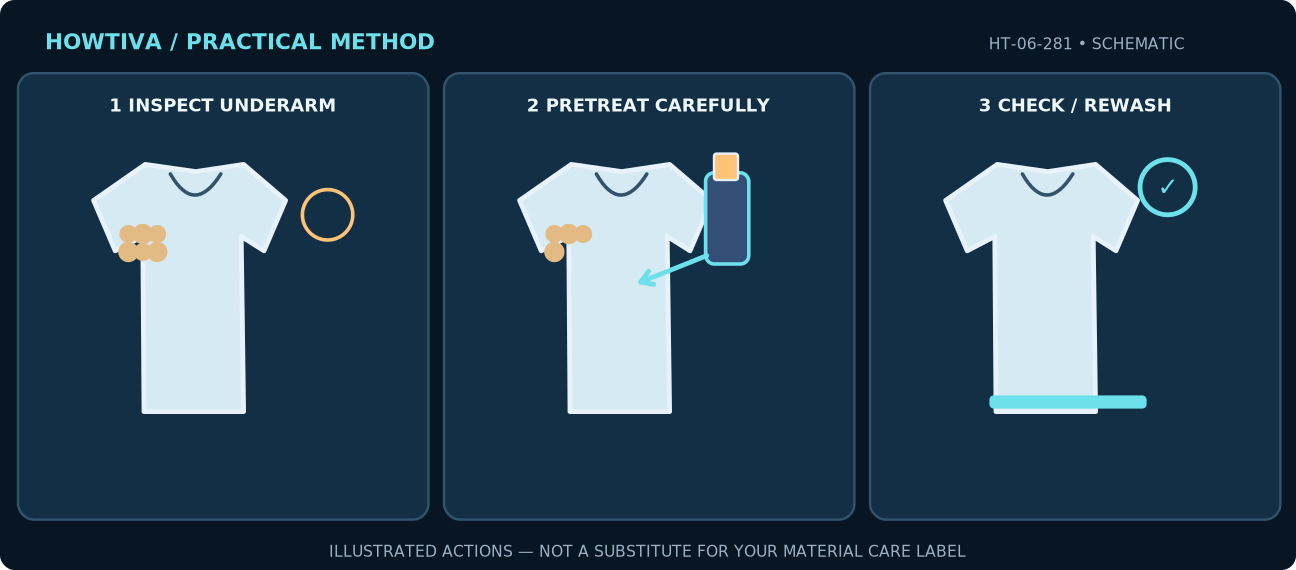
Inspect underarm seams in daylight. Chalky white marks may sit on the fabric surface; rigid yellowed patches can be built-up body soils and product residue. A faded patch where color is missing cannot be restored by stain cleaning. Do not start by scrubbing delicate knits.
Step 2: Read the care label and test a seam
Check wash method and permitted temperature, then test the intended prewash product in a hidden area. A dark performance shirt may be colorfast but sensitive to finishes, heat and bleach. If the wash instructions prohibit wet cleaning, choose professional care.
Step 3: Dampen and pretreat the underarm zone
Use a small amount of appropriate liquid laundry detergent for light marks. For dense buildup, apply a commercial prewash stain remover according to its label. Keep treatment to fabric rather than seams with glued components. Use gentle fingertip pressure to distribute without stressing the knit.
Step 4: Allow only the product-approved contact time
The ACI suggests leaving heavy deodorant pretreatment on for roughly five to ten minutes, but the actual product label takes precedence. Keep the fabric from drying into a stiff cleaning crust. Do not add chlorine bleach, ammonia or acid as an improvised combination.
Step 5: Wash with a suitable detergent and cycle
Turn the shirt inside out if the care tag allows; wash with compatible colors and fabric weights. Use correct detergent dosage and the label’s maximum temperature. If heavy residue persists and the bleaching care label allows oxygen bleach, a correctly labeled product may be an option.
Step 6: Inspect, rewash if needed and prevent buildup
Check the underarm panels before dryer heat. Repeat a safe pretreatment if residue remains. Allow deodorant to dry on skin before dressing when practical, use only the necessary amount and launder soon after heavy activity.
Practical examples: when the procedure changes
White streaks on a black T-shirt
First lift loose deposits with a soft dry cloth, then pretreat and wash if needed. Aggressive abrasion can make an obvious pale patch on dark cotton even if the residue disappears.
Stiff yellow underarms on a white shirt
This may need several compatible cleaning cycles; it is not proof that bleach is safe. Use a prewash remover followed by label-compliant laundering and inspect before drying.
Troubleshooting: what can go wrong
A pale patch remains after rinsing: Compare a hidden area: it may be permanent dye loss rather than removable residue.
The underarm feels stiff after washing: Check for residual body oil or detergent film; pretreat again and rinse thoroughly.
Fabric becomes rough or pills: Stop scrubbing and use gentler application or specialist advice.
Staining returns quickly: Review product quantity, drying time before dressing and whether clothes are being washed promptly.
Alternatives, materials and model differences
Prompt washing and pre-treating with ordinary liquid laundry detergent is preferable to solvent-heavy home formulas. A professional cleaner is appropriate for silk, specialty shirts or items with structural stiffening that must not be wetted.
Stop conditions and when to request qualified help
Stop for bleeding dye, printed or bonded fabric failure, chemical irritation or dry-clean-only clothing. Do not assume vinegar, ammonia or bleach is safe as a default on stained underarms.
Frequently asked questions
Do yellow underarm stains always mean sweat?
No. Sweat, skin oils, deodorant or antiperspirant formulations and fabric aging can all contribute.
Can I use oxygen bleach on every shirt?
No. The triangle care symbol and product label govern whether non-chlorine bleaching is permitted.
Sources & further reading
-
American Cleaning Institute: Stain Removal Guide
-
GINETEX: Care Symbols
Use the checklists as you go, and confirm the result before moving on to a more involved repair.