How to Clean Window Tracks
Open the accessible window, vacuum loose dirt from the lower track, loosen remaining grit with a soft brush and wipe with mild soapy water and a damp cloth. Rinse sparingly, dry and confirm the frame’s drainage openings remain clear.
Quick answer: Open the accessible window, vacuum loose dirt from the lower track, loosen remaining grit with a soft brush and wipe with mild soapy water and a damp cloth. Rinse sparingly, dry and confirm the frame’s drainage openings remain clear.
Who this is for: Interior accessible sliding-window tracks and sills. It is not a fix for rotted framing, stuck or broken glazing, high exterior windows, window leaks from structural damage or concealed drainage defects.
Before you begin: materials and safety
Gather the following:
- Vacuum crevice/brush attachment and soft toothbrush
- Mild non-abrasive soap, water, microfiber cloths and towel
- Window manufacturer care instructions
- Small soft brush for visible drainage openings (when maker permits)
Step-by-step instructions
Step 1: Inspect the window, sill and drainage first
Open only as far as safe and supported by the window design. Look for cracks, active leaking, loose sash or damaged weatherstripping. Identify exterior drainage/weep holes if present; these are openings meant to drain water and should not be sealed or filled.
Step 2: Remove grit while the track is dry
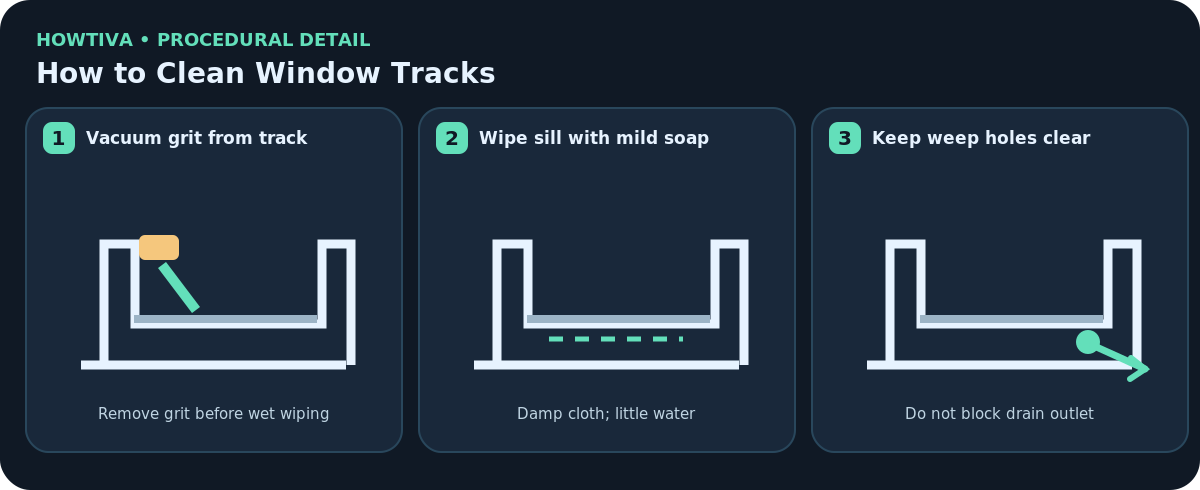
Use a crevice or soft brush vacuum attachment to remove dust, sand and pet hair before applying moisture. Work from one corner to another, moving the sash only as your manual allows. Avoid scratching anodized or painted frame finishes with metal tools.
Step 3: Loosen embedded dirt with a soft brush
Gently brush the base and vertical sides of the track so trapped grains can be vacuumed. Do not hook a brush underneath a fragile weatherstrip or force roller hardware. A cotton swab can reach small surface corners without gouging seals.
Step 4: Wipe the sill with a mild solution
Moisten a cloth with mild soapy water and wipe the exposed track; do not pour water into unknown holes or enclosed wall cavities. Use a second cloth with clean water to remove soap residue, then dry. Avoid solvents, abrasives, steam and pressure washing.
Step 5: Inspect visible weep openings
Clear only loose surface dirt from visible weep inlets with a soft brush if the manufacturer supports it. Do not remove factory baffles, enlarge the drain, insert rigid sharp objects or seal over weep holes. If drainage still fails, seek professional service.
Step 6: Test movement and inspect sealing
Allow the track to dry, slide the sash gently and verify it closes and locks without resistance. If it scrapes, do not respond by adding random lubricants: different window makers specify different hardware maintenance.
Step 7: Keep the track clean before wet seasons
Vacuum periodically, especially in dusty or coastal conditions. After heavy rain, check for recurring standing water or new stains. Cleaning helps routine drainage but cannot remedy failed flashing or water damage inside a wall.
Two real-world situations where the method changes
Aluminum slider full of gritty sand
Vacuum before wiping; dry abrasive sand can scratch finish if dragged across the metal.
Water sitting in a bottom track after rain
A small amount may be part of the weep design; check visible openings and drainage rather than sealing them.
Troubleshooting: if the result is not right
Window starts binding after cleaning: Look for displaced loose debris, then consult maker instructions rather than forcing sash operation.
The drain appears blocked inside the frame: Do not dismantle hidden passages; contact the maker or installer.
Paint flakes off the track: Stop abrasion and determine whether protective finish is failing.
Water enters interior wall or sill: Request professional window/envelope diagnosis promptly.
Alternatives and manufacturer differences
- For painted wood, use very little water and dry promptly; soak-prone timber and rot require a separate repair plan.
- For tilt-in and casement windows, use the manufacturer-approved opening procedure; do not force hinges into positions.
- Use a dry vacuum-only routine in inaccessible or moisture-sensitive frames.
When to stop and ask a professional
Stop for loose glazing, damaged frame, unsafe outside access, persistent interior water ingress or structural decay.
Final checks and prevention
Check that the sash glides without force, no drainage opening is blocked and no water is entering interior finishes.
Frequently asked questions
How do I know when to stop?
Stop for loose glazing, damaged frame, unsafe outside access, persistent interior water ingress or structural decay. A clean appearance alone does not prove that contaminated food, persistent water ingress, damaged fabric or faulty equipment is safe.
Sources & Further Reading
- Milgard — Window and Door Care Tips (Vacuum track grit and keep weep drains clear.)
- Milgard — Spring Cleaning Do’s and Don’ts for Window Care (Mild cleaner, dry after cleaning, no abrasives.)
- Pella — How to Clean Windows (Brush and vacuum tracks first; model-specific instructions.)
Use the checklists as you go, and confirm the result before moving on to a more involved repair.