How to Descale a Coffee Maker Using Manufacturer Guidance
Identify the exact coffee maker model before touching its water system. Follow that model’s descaling instructions for approved chemical, dilution, reservoir placement, button sequence and rinse cycles.
Quick answer: Identify the exact coffee maker model before touching its water system. Follow that model’s descaling instructions for approved chemical, dilution, reservoir placement, button sequence and rinse cycles. Remove coffee or capsules when the instructions say to; use a large collection vessel and never let the machine run dry. Do not assume vinegar is universally safe: Breville approves it for certain older models but specifically forbids it in guidance covering many newer espresso models.
Covers household drip brewers, capsule machines and espresso makers only at owner-maintenance level. Plumbed commercial equipment, complex boiler systems or machines with a service-only descaling procedure need trained service. Chemical strength, program duration and pause timing are model-specific, not universal.
Before you begin: safety and materials
What you need:
- Full maker + model number and its current descale instructions
- Exact branded or machine-approved descaler, unopened if possible
- Fresh potable water, appropriate large vessel and a towel
- Access to a sink and any model-required drip tray/grounds bin
Step-by-step instructions
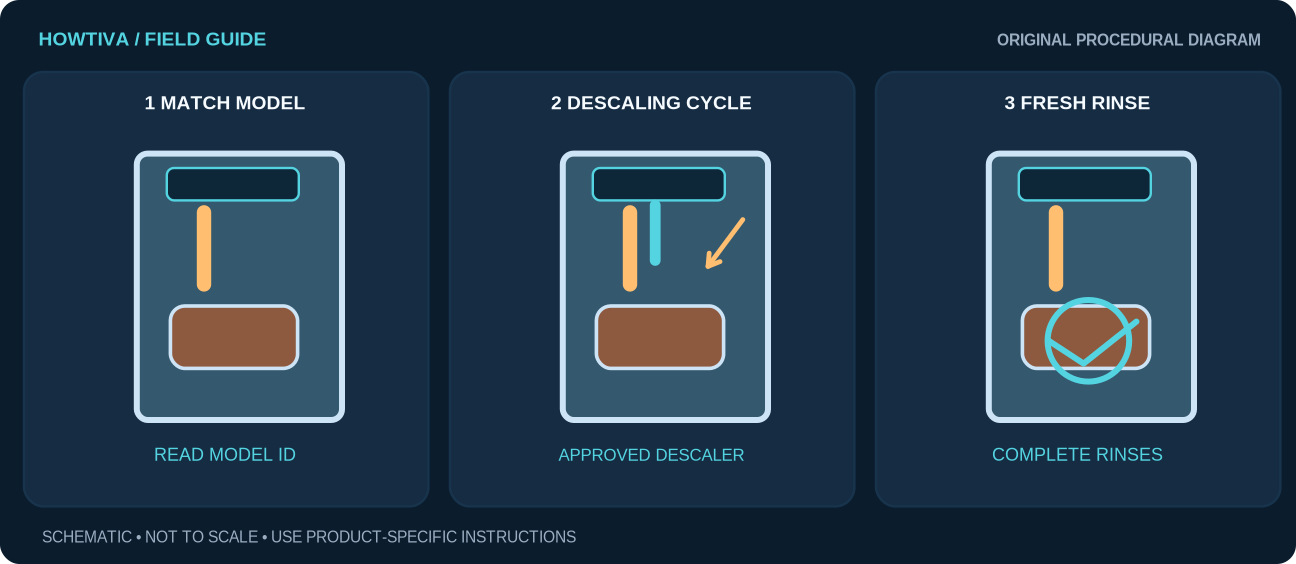
Step 1: Confirm the model and the reason for descaling
Check the label, manual or on-screen alert. Slow flow, reduced temperature or an illuminated descale indicator can signal buildup, but a blocked capsule piercing needle or pump fault can produce similar symptoms. Do not use descaler to “fix” a leak or electrical problem.
Step 2: Read the permitted chemical, concentration and warnings
Use the cleaner specified for the model. Breville’s modern espresso-support article advises compatible descaling solution and explicitly says no vinegar; an older Breville BES250 manual describes a vinegar-and-water ratio. These cannot be generalized across models and years.
Step 3: Prepare the machine exactly as instructed
Allow hot parts to cool if required; remove a coffee pod, filter, milk carafe or water filter only when the manual directs it. Empty drip trays and grounds containers. Place a sufficiently large heat-tolerant vessel beneath outlets and check that liquid will not touch electrics.
Step 4: Mix and load descaler without improvisation
Measure the approved dose and fresh water with the manual’s units; never mix descaler with bleach, detergent, vinegar or another agent. Keep it out of reach of children. If your system uses a special descale packet, do not swap household acids on a guess.
Step 5: Start the exact descale mode and let it finish
Some devices require a button combination, reservoir rinse mode or repeated water-only brew cycles; others automate the full sequence. Never bypass a programmed soak or interrupt just because water flow pauses. Do not force pump operation when the reservoir is empty.
Step 6: Complete every maker-required fresh-water rinse
Empty the collection vessel and thoroughly rinse the reservoir where required. Run all prescribed clean-water cycles so no descaler remains in the brew path. Refit components and clear alerts only according to the manual; confirm the first beverage has no chemical odor.
Practical examples: how the steps change
Breville espresso machine from a recent product family
Its current support information may require a compatible branded descaler and no vinegar. Do not apply a generic “50/50 vinegar” recipe copied from an older, different Breville manual.
Single-serve machine says DESCALE but still brews
Follow its exact descale mode and solution instructions. A forced normal brew may not complete the device’s descale detection logic.
Troubleshooting the problems people actually encounter
No liquid comes through: Stop before running the pump dry. Check removable reservoir seating and the exact model troubleshooting path.
Descale indicator stays lit: A specified final rinse or exit sequence may still be pending. Consult the manual, not random long button presses.
Rinse water tastes acidic: Do not prepare drinks. Repeat only approved rinses and contact support if odor persists.
The machine leaks underneath: Unplug safely and arrange service. Descaling chemicals can worsen an existing leak.
Alternatives, product differences and limitations
For pod machines, check the brand’s specific capsule/removable-tank cleaning guide; for espresso machines, distinguish ordinary backflushing from descaling, since their purposes and allowable products differ. In warranty periods use the maker’s approved products and cycle.
When to stop and seek qualified help
Stop on hot-pressurized leakage, burning smell, exposed electrical parts, pump grinding, no-flow warnings or missing current descaling instructions. Do not take apart pressurized boilers or add more acid to compensate.
Frequently asked questions
Can I use vinegar instead of commercial descaler?
Only where the exact machine manual expressly authorizes it. Some machines approve vinegar and some expressly forbid it.
How often should I descale?
Follow the model-specific indicator and hardness/usage guidance. Universal calendar intervals are unreliable across technologies.
Sources & further reading
-
Breville Support: Descaling Troubleshooting for Breville Espresso Machines
-
Breville: BES250 Espresso Machine Manual
-
Keurig Support: Support for K-Supreme Single Serve Coffee Maker
Use the checklists as you go, and confirm the result before moving on to a more involved repair.