How to Install a Tension Curtain Rod
Check that the rod is designed for the exact inside-opening width and curtain weight. Thread the curtain onto the rod if its instructions require it, fit both end pads squarely against sound opposing surfaces, then extend and tighten the rod in the direction specified by its manufacturer.
Quick answer: Check that the rod is designed for the exact inside-opening width and curtain weight. Thread the curtain onto the rod if its instructions require it, fit both end pads squarely against sound opposing surfaces, then extend and tighten the rod in the direction specified by its manufacturer. Level it and test gently before letting go. A spring-loaded rod and a twist-to-lock rod are not installed identically.
For lightweight domestic window curtains on a suitable rigid recess. Not for heavy blackout treatments, shower safety grab bars, glass panels or use across weak painted plaster. Never lean or hang on a tension curtain rod. A mounted screw bracket is a different system.
Before you begin: safety and materials
What you need:
- Tension rod with intact rubber end pads and correct size range
- Tape measure and bubble level
- Clean dry microfiber cloth for contact surfaces
- Lightweight compatible curtain and a helper where helpful
Step-by-step instructions
Step 1: Identify the rod mechanism and read its load rating
Find the rod’s model and measure the opening at the intended height. Confirm it falls within the supplied extended-length range and fits the allowable curtain weight. Examine end caps for contamination, damage or missing anti-slip pads.
Step 2: Prepare both contact points and the curtain
Choose a flat rigid face on either side of the recess; wipe away dust, allow the surfaces to dry and avoid crumbling plaster, unstable tile or peeling coatings. For the Kenney twist type in its 79-RDTR1 instructions, the curtain is slid onto the rod after temporarily removing one finial.
Step 3: Position the ends at the same height
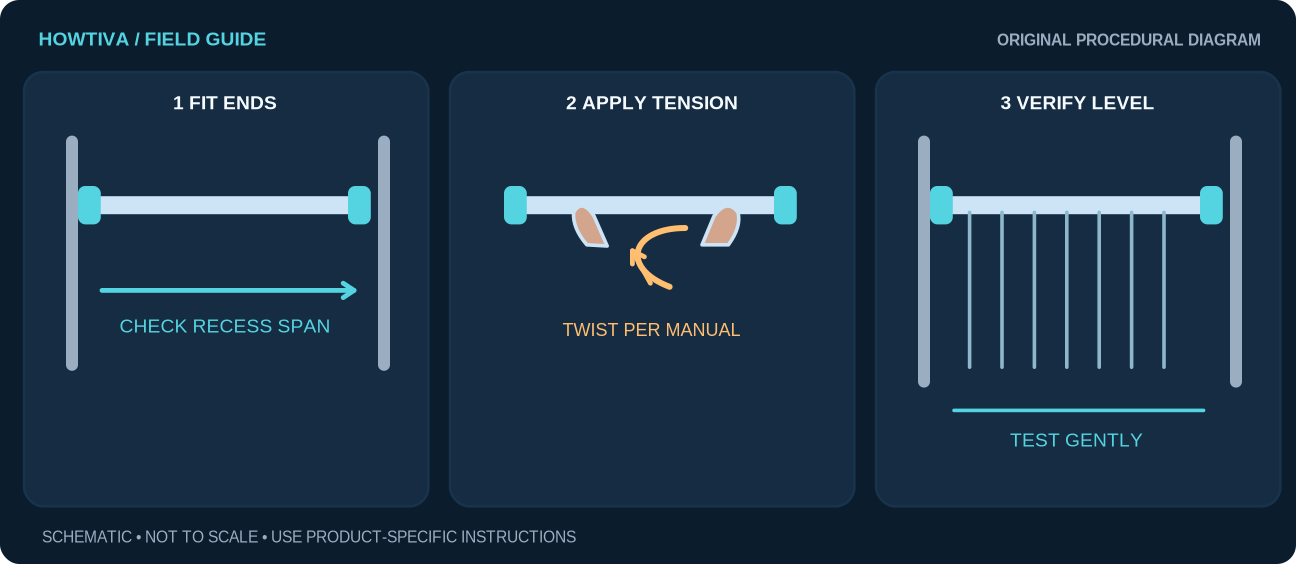
Hold the rod horizontally across the opening. With the end caps in position, extend until both pads make even contact with the opposite sides. Use a level; a crooked rod may slide or concentrate force on a small edge.
Step 4: Apply controlled tension using the model instruction
On Kenney 79-RDTR1, hold the inner and outer tubes near the middle and turn the right-hand tube toward yourself; the rod lengthens slightly as it tightens. This direction is specific to that model. Other spring, cam and screw designs differ. Never use tools to over-tighten.
Step 5: Check grip without loading it heavily
Keep a hand under the rod and apply only a gentle downward touch to confirm neither pad slips or twists. If it creeps, remove it and reconsider surface, span and weight—not merely force it harder.
Step 6: Arrange curtain and inspect after use
Spread the curtain gently, check the rod remains level and confirm window movement does not knock it free. Reinspect after the first few operations and periodically; a repeatedly falling rod is not securely installed.
Practical examples: how the steps change
A rod slowly slips down a painted recess
The pads may be wet, dusty or poorly supported. Remove, clean and dry contact surfaces, check the load rating, and choose an approved mounting alternative if it still slips.
Rod is slightly too short for a wide window
Do not wedge loose blocks into the recess. Some models have an approved extension tube; the Kenney manual shows an extension option. Only use the matching component and within the rated span.
Troubleshooting the problems people actually encounter
Turning makes rod shorter: Stop and use the opposite direction only when the exact model instructions confirm the adjustment; do not strip threads.
End cap leaves pressure marks: Reduce tension, inspect surface durability and consider screw-mounted brackets on a sound substrate or a different mounting location.
It holds without fabric but falls with curtains: Curtain weight and friction may exceed the capacity; choose lighter fabric or a securely fixed rod.
The rod is uneven: Remove and reset at equal heights; tension on a slope may increase slipping risk.
Alternatives, product differences and limitations
Spring-compression rods may need pre-compression and release rather than twisting. For heavy or valuable curtains, use a properly secured bracketed track with fasteners matched to the wall and service-location checks. Adhesive accessories are not a substitute for an actual approved loading specification.
When to stop and seek qualified help
Stop if the surrounding plaster, tile or wood moves, paint lifts, pads slip repeatedly or the product has no reliable load rating. Do not use a tension curtain rod as a grab handle or climbing support.
Frequently asked questions
Can I use it between two plasterboard edges?
Only if the rod manufacturer explicitly permits that surface and weight. Weak, flaky or unsupported faces may dent or fail.
How tight is tight enough?
Enough to meet the maker’s specified tension and pass a gentle no-slip check—not enough to deform the window surround.
Sources & further reading
-
Kenney Manufacturing: 79-RDTR1 Tension Rod Installation Instructions
Use the checklists as you go, and confirm the result before moving on to a more involved repair.