How to Patch a Small Nail Hole in Drywall
For a small nail puncture in dry, intact interior drywall, brush away loose material, press a little spackling compound into the hole with a flexible putty knife and scrape the surface flush.
Quick answer: For a small nail puncture in dry, intact interior drywall, brush away loose material, press a little spackling compound into the hole with a flexible putty knife and scrape the surface flush. Let it dry fully as directed by the product, lightly sand any ridge, remove dust, then prime and touch up with matching paint. Larger holes, loose paper or wet drywall need a different repair.
This technique is for a pin-sized nail hole or similarly small superficial cavity in finished gypsum drywall, not plaster, masonry, tile or structural damage. If the hole is still occupied by a nail, picture hook or drywall anchor, removal may enlarge the opening. Never drive new nails, drills or screws near unknown wiring or plumbing merely to make a patch easier.
Check applicability and set up safely
You will need:
- Small tub of interior spackle or joint compound compatible with the wall
- Flexible putty knife; clean cloth
- Fine-grit sanding sponge, eye protection and suitable dust mask
- Wall primer and matched interior paint; small brush
Step-by-step procedure
Step 1: Make sure the wall is dry and stable
Check for leaks, discoloration, soft gypsum, mold or cracking beyond the small hole. Do not patch active moisture or crumbly material. Determine whether you are working on drywall and not textured plaster, wallpaper or tile.
Step 2: Remove loose paint and dust gently
If the hole is empty, lightly wipe or brush away loose chips. Avoid widening it with a knife. If a nail or anchor remains, do not tug aggressively; use a dedicated removal procedure only if it is safe to do so.
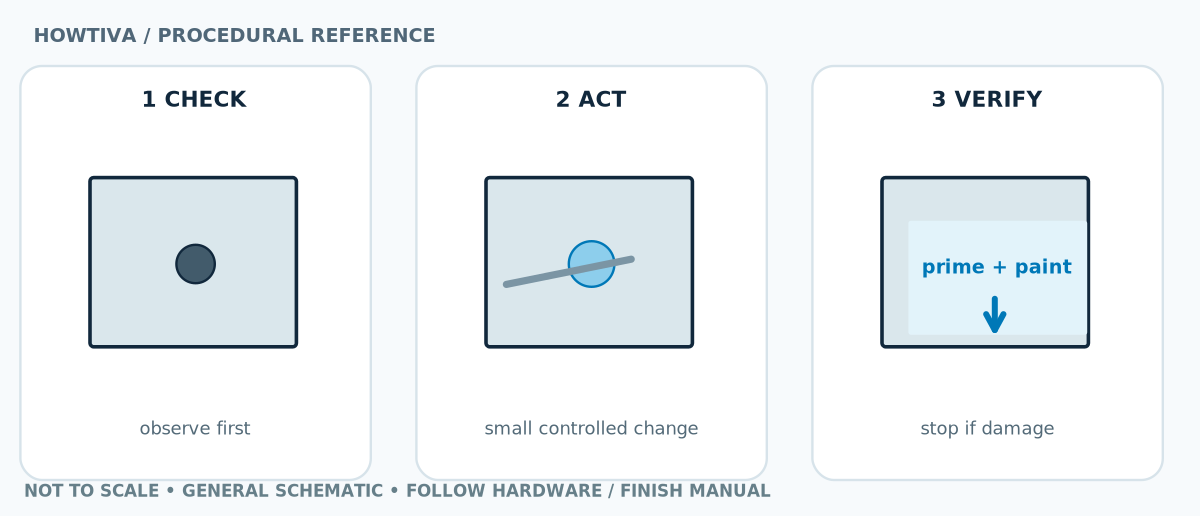
Step 3: Press in a small amount of spackle
Load a little compound on the putty knife and push it across the puncture so it fills the depression instead of merely bridging its face. Draw the knife over the area to level with the surrounding painted surface. A thick raised lump takes longer to dry and is more visible.
Step 4: Dry fully before the next operation
Follow the material label for minimum application temperature, drying interval and number of coats. Color-change formulas may help but do not override wet spots. Add a second thin layer only if the first sinks below the wall face after drying.
Step 5: Feather the patch and remove dust
With fine abrasive and gentle pressure, smooth only raised compound. Avoid sanding deeply through adjacent paint or disturbing the drywall paper. Use appropriate dust protection and brush or vacuum settled dust before finishing.
Step 6: Prime and blend the paint
Use a suitable primer as directed; porous patch compound can absorb paint differently from the surrounding wall. After it dries, apply matched touch-up paint. On textured or high-sheen walls, the patch can remain visible even with exact color match.
Two real-world situations to compare before repeating a step
Former gallery wall with many pinholes
Fill clean holes individually with thin compound rather than smearing a wide thick layer. Repainting a complete section can be more visually consistent, especially on glossier finishes.
Nail hole surrounded by water stain
Do not hide the moisture issue. Find and repair the source and confirm drywall is dry and sound before considering a cosmetic patch.
Troubleshooting: when the first check does not solve it
Filler shrinks into a small crater. Allow the first coat to dry, then add another thin coat rather than applying one thick blob.
Patch appears shiny or dark through paint. A missing or incompatible primer may cause differential absorption; reprime and touch up after drying.
Paper surface peels when sanding. Stop. Damaged drywall face paper requires a different sealing and repair approach.
Hole is much larger than a nail shaft. Use a correctly sized repair patch or seek a qualified repairer; do not span a large void with unsupported spackle.
Alternative paths and brand-specific differences
For many nail holes across a wall, priming and repainting the wall may blend better than spot-painting. For plaster walls, manufacturer-approved plaster filler is a separate procedure. Never sand an unknown old coating when hazardous paint could be present.
When to stop and ask for help
Stop when you see active water, mold, loose gypsum, spreading cracks or signs of old hazardous paint. Do not cut into walls or sand suspect coatings.
Frequently asked questions
Can I paint before it is dry?
No. Follow the compound label and ensure the interior of the patch has dried to avoid cracking, sinking or poor adhesion.
Do I always need primer?
A small spot may seem to cover, but primer reduces uneven absorption and is particularly useful with glossy or deep-color paint.
Sources & further reading
Use the checklists as you go, and confirm the result before moving on to a more involved repair.