How to Remove Grease from Kitchen Cabinets
For washable, intact cabinet fronts, wipe oily marks with a barely damp microfiber cloth and a little mild detergent, then remove residue with a fresh damp cloth and dry edges immediately.
Quick answer: For washable, intact cabinet fronts, wipe oily marks with a barely damp microfiber cloth and a little mild detergent, then remove residue with a fresh damp cloth and dry edges immediately. Test a hidden spot and check the cabinet manufacturer first. Do not soak veneer, seams or particleboard.
This low-risk method is for sound, sealed cabinet fronts and reachable handle areas, not bare wood, swollen edges, damaged lacquer, peeling thermofoil, electrical fittings or range-hood internals.
Before you begin: safety and materials
What you need:
- Finish-specific cabinet manufacturer care page or installation booklet
- Two or three clean microfiber cloths and a bowl of lukewarm water
- Small amount of mild dish detergent permitted by the cabinet manufacturer
- Dry absorbent towel to protect neighboring seams and countertop
- Optional soft cotton swab for accessible hardware crevices
Step-by-step instructions
Step 1: Identify finish and inspect damage
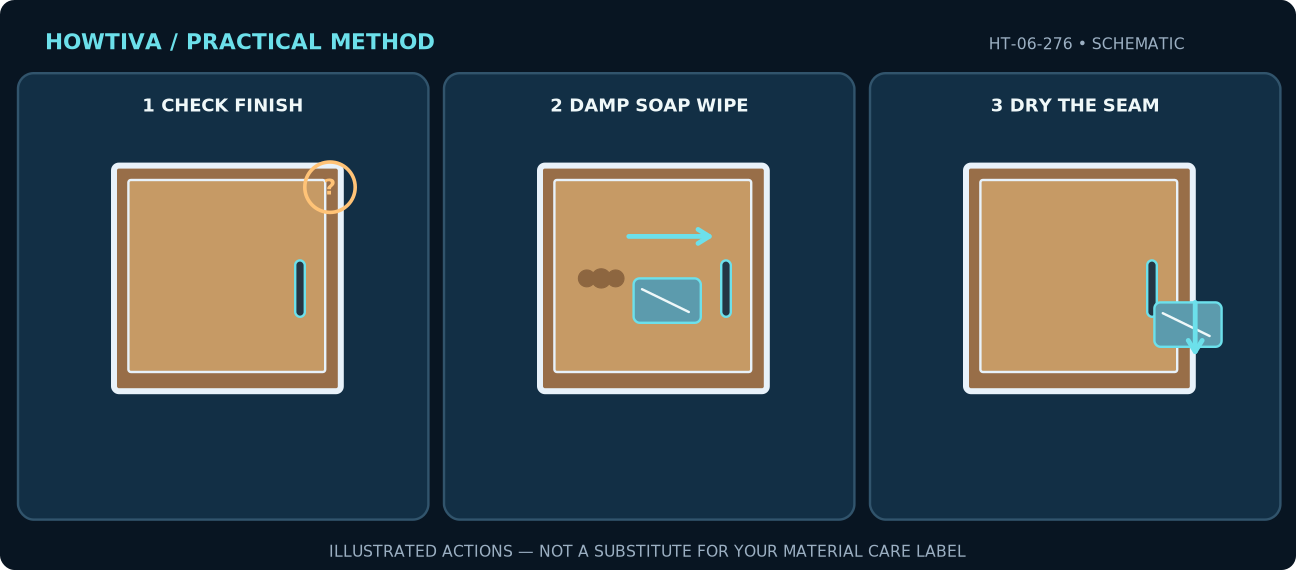
Check painted wood, laminate, lacquer, thermofoil, veneer and metal separately. Look for soft edges, loose film, swelling, peeling or whitening. On damaged or unknown finishes, contact the maker instead of applying a degreaser. Record the location of the grease before it becomes smeared.
Step 2: Clear loose dirt and protect edges
Remove surface dust with a dry, soft cloth before introducing moisture. Move food and small countertop items aside so no cleaner drips into them. Keep cloths away from power outlets and cabinet lights. Protect end grain, seams, drawer openings and unsealed cutouts from water.
Step 3: Use a controlled damp-cloth pass
Put a little mild detergent in water only if your finish guidance permits it. Dampen the cloth lightly, squeeze until it is not dripping and work over the greasy area with short, gentle strokes. Start at the edges of the greasy patch and move toward its center. Do not spray directly onto doors.
Step 4: Lift loosened grease instead of polishing it around
Fold the cloth to a clean face as it becomes oily. For textured fronts, move gently along the texture with a barely damp cloth rather than hard scrubbing. A soft swab may reach around an intact handle base; do not loosen hardware to chase grime. Repeat one brief pass only if the finish remains sound.
Step 5: Remove detergent residue
Use a second cloth dampened with clean water to lift leftover detergent film. Too much soap may leave a sticky patch that attracts new kitchen dust. Avoid rubbing repeatedly while the finish is wet. Replace soiled cleaning water rather than spreading a diluted grease film to adjoining doors.
Step 6: Dry joints and reassess in angled light
Immediately wipe the front, hinge-side edge, door bottom and all seams with a dry microfiber towel. Recheck from the side for streaks, haze or a softened coating. Reinstall moved countertop items only after the cabinet is dry; stop if the finish has changed color or texture.
Practical examples: when the procedure changes
Grease collects beside cabinet pulls
Finger oils and cooking residue can collect around a handle. Use a folded cloth for the edge and keep moisture away from the screw hole and substrate. A cabinet pull that spins or a laminate edge that lifts is a hardware or finish problem, not a reason for a stronger cleaner.
Sticky buildup near a hob or extraction hood
Several gentle detergent-and-dry cycles may be safer than one strong chemical pass. If yellow-brown residue seems bonded, check the maker’s product list. Solvent sprays, ammonia, abrasive pads and prolonged hot steam can damage some coated panels.
Troubleshooting: what can go wrong
A cloudy halo appeared: Stop cleaning, dry without polishing and ask the manufacturer whether the finish can tolerate any restoration product.
The grease only smears: Change to a clean cloth face and renew the mild wash solution; do not add a second incompatible chemical.
An edge began swelling: Stop water contact immediately, dry thoroughly and seek repair advice; swollen composite boards may not recover.
A handle stays grimy: Wipe the accessible perimeter only; if corrosion, wobbling or a hidden recess prevents access, follow model hardware service guidance.
Alternatives, materials and model differences
For unsealed or specialty wood, painted antique cabinetry, high-gloss acrylic, textured laminate and foil wrap, consult finish-specific care instructions before using even mild detergent. Routine dry dusting and wiping splatter promptly can prevent heavy buildup. A proprietary cabinet cleaner is an alternative only where the cabinet maker explicitly approves it.
Stop conditions and when to request qualified help
Stop when coating becomes tacky, bubbles, lifts, flakes or discolors; when wood composite swells; or when cleaning liquid enters electrical cabinet lighting. In those cases pursue manufacturer or qualified cabinet restoration advice.
Frequently asked questions
Can I use a heavy-duty degreaser on all cabinet doors?
No. An industrial or alkaline degreaser may be incompatible with coatings, adhesives or edge banding. Verify the exact finish and product first.
Why do cabinets feel sticky after cleaning?
An unremoved detergent film, old cooking grease or finish deterioration can feel sticky. Try one fresh-water wipe and dry; if it persists, stop and identify the coating.
Sources & further reading
-
MasterBrand Cabinets: Care and Cleaning
Use the checklists as you go, and confirm the result before moving on to a more involved repair.