How to Clean a Vacuum Cleaner Filter
Turn the vacuum off and disconnect power. Find the exact filter care directions for the model, remove the accessible filter, then **wash it only if it is explicitly washable**. Air-dry a washable filter completely for the manufacturer’s required period before putting it back; replace nonwashable or damaged filters instead.
Quick answer: Turn the vacuum off and disconnect power. Find the exact filter care directions for the model, remove the accessible filter, then wash it only if it is explicitly washable. Air-dry a washable filter completely for the manufacturer’s required period before putting it back; replace nonwashable or damaged filters instead.
Who this is for: For ordinary consumer vacuum cleaners with user-removable filters. Wet/dry shop vacuums, ash vacuums, HEPA-sealed systems, construction dust machines and commercial hazardous-dust vacuums require their dedicated servicing instructions and safety precautions.
Before you begin: materials and safety
Never clean the filter while plugged in or attached to a live charger. Do not operate a vacuum without required filters. Do not spray water into the motor housing, use an oven or hair dryer to speed drying, or wash an HEPA/pleated cartridge unless the exact manual permits it. If you vacuumed hazardous asbestos, lead or other regulated dust, do not follow ordinary domestic filter cleaning.
What to gather:
- Manufacturer manual or product support page with exact model number
- Waste bin or disposable bag and soft dry cloth
- Cool/warm clean water and mild detergent only where approved by the maker
- A clean, well-ventilated drying location plus a correct replacement filter if needed
Step-by-step instructions
Step 1: Find the exact model and filter type
Read the rating plate and owner manual. Check whether your vacuum has a pre-motor foam pad, felt layer, post-motor cartridge, HEPA filter or more than one filter. The label “HEPA” does not tell you whether it can be washed. BISSELL’s CleanView examples include washable pre-motor foam but a nonwashable pleated post-motor filter; Dyson has certain models with washable cylindrical filters. Do not transfer instructions between variants.
Step 2: Shut down, disconnect power, and cool the machine
Switch the vacuum off, unplug it from the wall or remove it from the charger, and follow instructions for removable batteries. Wait if the motor area is hot. Move to a ventilated space where you can contain dust; people with dust sensitivity may prefer a helper. Do not shake dusty filters near food, face level or occupied bedrooms.
Step 3: Release the dust bin and identify each filter
Open only the user-serviceable catches shown in the manual. Pull a foam pad by its intended tab; avoid tearing it against sharp edges. Note the orientation or take a photo before removal. If the lid resists, do not pry with a screwdriver into housing clips, wiring or a battery compartment. Empty collected debris according to the maker’s instructions.
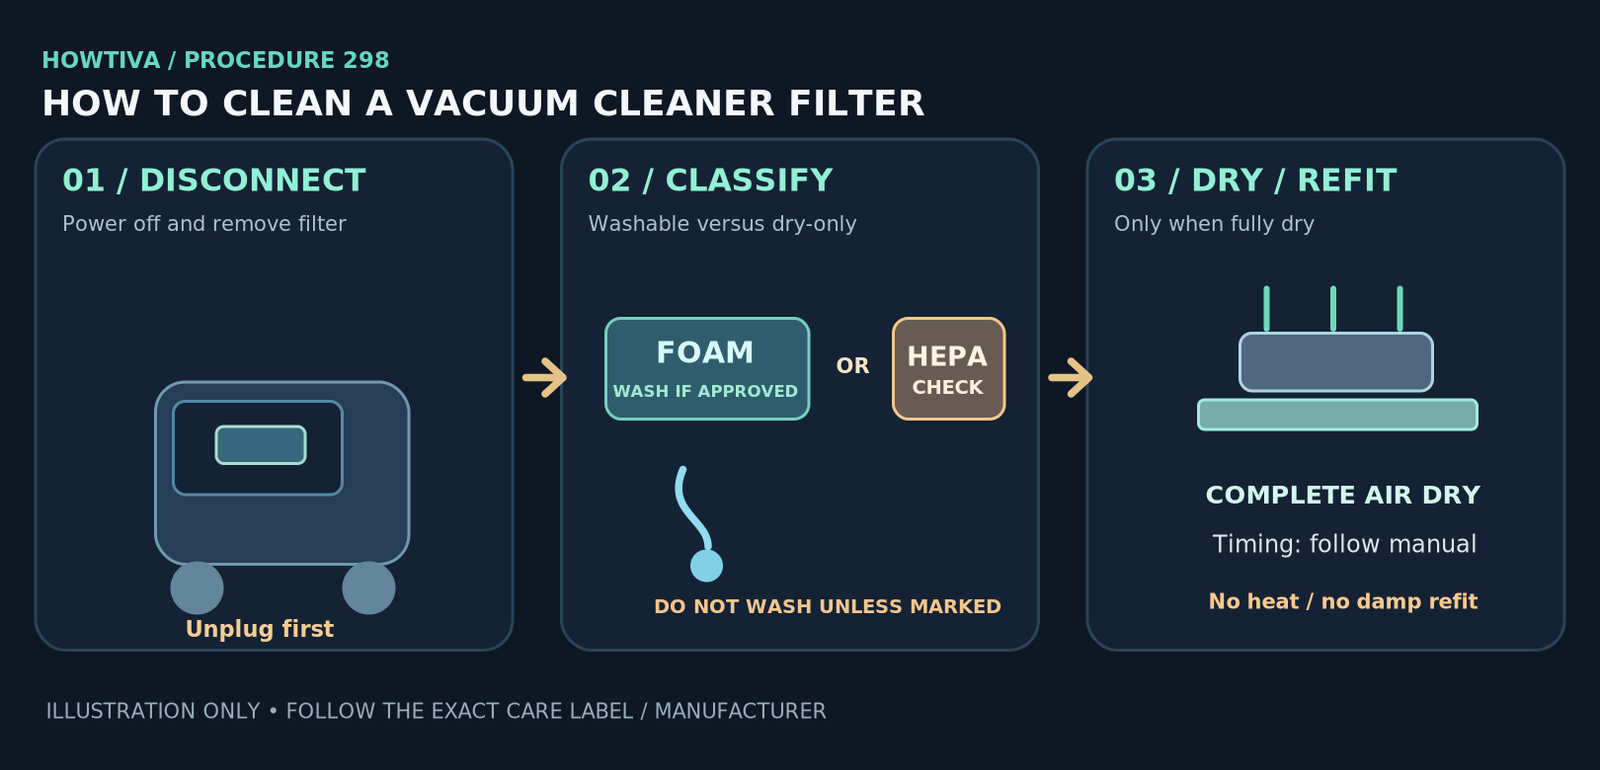
Procedure illustration: original step sequence showing how to clean a vacuum cleaner filter; follow material and manufacturer limitations, not a simulated hands-on test.
Step 4: Choose the washable or nonwashable path
For washable foam or a clearly labeled washable cartridge, gently remove loose grit and rinse using the specified water temperature and permitted cleanser. For a nonwashable HEPA/pleated filter, follow the exact dry-tapping, surface-wiping or replacement directions—some should simply be replaced. Do not scrub delicate pleats, wring paper media or introduce soap to water-only models.
Step 5: Dry a washed filter fully before fitting it
Set the rinsed filter in a dry, well-ventilated location. A Dyson support example requires a minimum 24-hour drying period, but that is not a universal deadline: some filters need longer. Examine seams and internal folds for lingering dampness. Do not place it on heaters, radiators or heated appliances. A filter that feels cool or damp in a recessed section is not ready to be installed.
Step 6: Reassemble, test suction, and replace when required
Refit filters in their original orientation, close all latches and attach the clean dust cup. Check that seals and clips sit flat, then perform a brief normal operation check. A persisting filter warning may indicate clogging elsewhere, incorrect seating or a worn filter; use the manufacturer flowchart. Order an exact compatible replacement rather than running without filtration.
Real-world cases that change the plan
The HEPA filter looks dirty, but the manual says nonwashable
Do not rinse it. Depending on maker instructions, gently remove loose debris or replace it. Washing an unapproved HEPA medium can compromise filtration without obvious visible damage.
Suction is poor after washing a foam pre-filter
First confirm the foam is completely dry and correctly seated, and the bin/air passages are clear. A degraded foam pad may need replacement rather than another wash.
Troubleshooting: when the first attempt does not work
- Filter warning stays on: Check reassembly, airflow blockages and maintenance counters only by the manual; do not bypass safety sensors.
- The filter smells musty: A damp filter may promote odors. Remove it, dry fully if approved, and replace if degraded; inspect the bin and housing without wetting electrical components.
- A pleated filter collapses or tears: Stop using it and replace with the model-correct part; damaged pleats cannot be restored by drying.
- The filter still feels damp after a day: Continue air drying; never assume 24 hours alone proves dryness.
Alternatives and important model differences
- A replacement filter is often the only correct option for sealed or nonwashable media.
- For certain cordless models, manufacturer support videos explain which filters can be rinsed and the order of assembly.
- If a motor, electrical contact, battery or sealed HEPA unit is contaminated, use qualified servicing rather than opening the appliance casing.
Common mistakes to avoid
Never put a damp filter back just because the outside looks dry. Do not rinse paper HEPA media without explicit manufacturer approval, and do not vacuum without mandatory filters.
Some vacuums have multiple separate filter compartments. Replacing only the visible pad may not address a downstream filter light or a clog; review all user-serviceable paths in the manual.
Frequently asked questions
Can I wash any vacuum filter labeled HEPA?
No. BISSELL specifically warns that some HEPA media are washable and others are not; model instructions govern.
Can I put a wet filter back if I vacuum for only a minute?
No. Moisture can damage components and affect performance. Wait until the filter is fully dry.
Does cleaning the filter fix every suction problem?
No. Blockages in the hose, bin, brush head or air path, and worn seals, can cause the same symptom.
Sources & Further Reading
- Dyson — Support — Washing the Filter (checked 2026-10-27)
- BISSELL — Cleaning Filters — CleanView Rewind (checked 2026-10-27)
- BISSELL — HEPA: The Must-Have Vacuum Filter (checked 2026-10-27)
- Shark — Vertex Cordless FAQ (checked 2026-10-27)
Use the checklists as you go, and confirm the result before moving on to a more involved repair.