How to Clean Suede Shoes Safely
Let suede dry completely, brush loose dust away gently with a dedicated suede brush, and use a suede eraser only on a test spot if the manufacturer permits. Restore the nap with light strokes. Never soak the shoe or machine-wash it.
Quick answer: Let suede dry completely, brush loose dust away gently with a dedicated suede brush, and use a suede eraser only on a test spot if the manufacturer permits. Restore the nap with light strokes. Never soak the shoe or machine-wash it.
Who this is for: For everyday dust and light scuffs on conventional suede uppers; deep dyes, oil, salt lines, waxed suede, bonded decorations and specialist footwear need care specific to the shoe.
Before you begin: materials and safety
Gather the following:
- Dedicated soft suede/nubuck brush (not a wire scouring brush)
- Clean dry cloth and optional suede eraser recommended by the maker
- White absorbent paper or a shoe tree; ventilated, shaded drying area
- Care instructions for the exact shoe and a clean work towel
Step-by-step instructions
Step 1: Read the material label before you brush
Check whether the upper is true suede, nubuck, velvet-like microfiber or a suede-effect synthetic. The same visual texture does not guarantee the same permitted cleaners. Look for loose pigment, worn patches or an existing water ring. If there is no material information, keep the process dry and conservative.
Step 2: Allow damp or muddy shoes to dry naturally
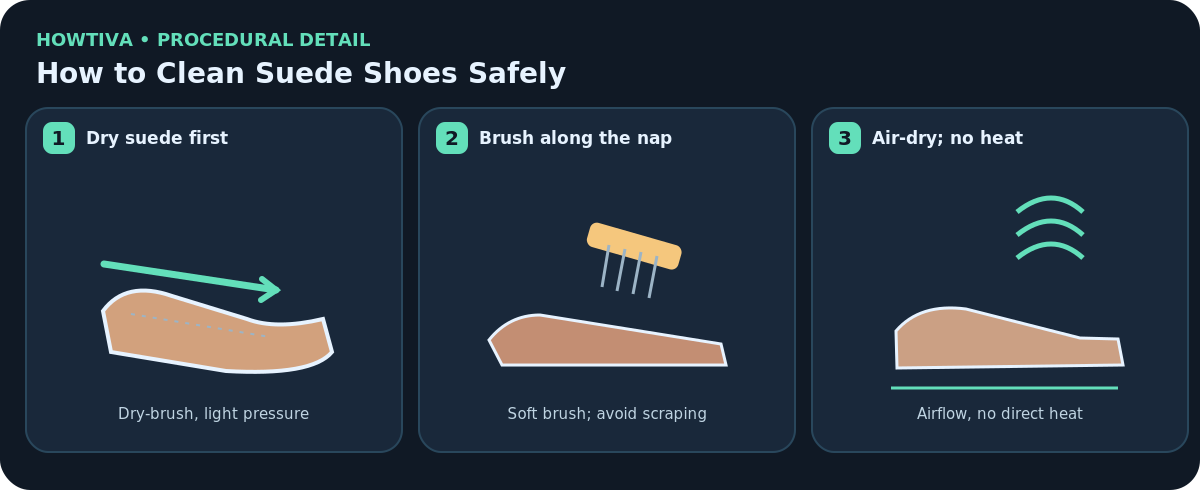
If rain or mud has wet the shoe, remove it from direct sunlight and heaters, lightly insert clean paper to retain shape and let the entire surface dry. Brushing muddy suede while wet can spread soil through the nap. Do not point a hair dryer at the shoe or place it on a radiator.
Step 3: Lift surface dirt in short, gentle strokes
Use a dedicated suede brush, starting with minimal pressure and following the direction of the fibers. Pay special attention to the toe and outer edge without abrading seams. Brush around loose trim rather than across it. A soft cloth can remove dislodged dust without making the suede wet.
Step 4: Test a suede eraser on a hidden spot
If a dry scuff remains, test an appropriate suede eraser at an inconspicuous heel area. Rub lightly on the mark, then lift eraser crumbs with the brush. Stop immediately if the nap thins, color changes or the leather becomes shiny. Do not assume ordinary pencil erasers are universally safe.
Step 5: Restore the nap without overworking it
After the surface is clean and dry, use a few light strokes in the direction that gives an even appearance. Light and dark regions may simply reflect fibers pointing different ways. Do not try to erase genuine wear by brushing harder: worn-away fibers cannot be brushed back into existence.
Step 6: Dry, inspect and protect only if appropriate
Confirm shoes are fully dry before storage, then check seams and color in normal daylight. A suede-specific protector may be appropriate if the shoe maker approves it; test for darkening and apply only as the product label directs, in ventilation. Protection sprays reduce exposure but do not make every suede shoe waterproof.
Two real-world situations where the method changes
Fresh mud on the toe
Allow mud to dry completely, remove flakes with light brushing, and assess whether there is a stain underneath. Wet scrubbing tends to push the dirt into the fibers.
An old rain ring
Do not wet the entire shoe in an attempt to blend it; use the shoe maker’s water-stain instructions or professional suede care. Water marks may remain even after careful treatment.
Troubleshooting: if the result is not right
The cleaned area looks darker: Let it dry and inspect it in even lighting; stop liquid treatments. A permanent pigment shift needs specialist advice.
The nap looks smooth or shiny: Stop friction. Damage from abrasion cannot be fixed by repeated erasing.
A grease spot remains: Avoid dish soap, alcohol and talcum-powder experiments without maker approval; seek an appropriate suede specialist.
The color rubs onto the cloth: Stop and seek manufacturer guidance. This may indicate unstable dye or finish.
Alternatives and manufacturer differences
- On nubuck, use only a nubuck-approved tool; its finer nap can be damaged by a harsh suede brush.
- For shoes with removable laces, clean laces separately according to their fabric instructions; avoid soaking the suede upper.
- For historic, designer, heavily stained or color-sensitive shoes, use a professional leather-care service rather than a household solvent.
When to stop and ask a professional
Stop for color bleeding, irreversible shiny abrasion, persistent oil staining, delaminated panels or no clear material instructions.
Final checks and prevention
Check nap and dye under indirect light, store dry away from heaters, and brush lightly before grime becomes embedded.
Frequently asked questions
How do I know when to stop?
Stop for color bleeding, irreversible shiny abrasion, persistent oil staining, delaminated panels or no clear material instructions. A clean appearance alone does not prove that contaminated food, persistent water ingress, damaged fabric or faulty equipment is safe.
Sources & Further Reading
- Clarks — How to Care for Your Suede Shoes (Suede-specific brush, avoid washing machine and monitor moisture.)
- Clarks — How to Repair and Resole Shoes (Drying naturally, gentle brushing and limits of protector sprays.)
Use the checklists as you go, and confirm the result before moving on to a more involved repair.